Quilting is an art form that weaves together creativity, skill, and tradition. Whether you’re a seasoned quilter or just starting your journey, mastering the art of quilt binding is essential to give your creation that finishing touch. In this guide, we’ll walk through the steps of creating quilt binding, ensuring your quilt looks polished and professional.
Understanding Quilt Binding
Before diving into the process, let’s grasp the significance of quilt binding. It’s the fabric edge that encloses the raw edges of your quilt, providing structure and a clean finish. Binding not only secures the quilt layers but also adds a decorative frame to your masterpiece.
Materials You’ll Need
Before you begin, gather these materials:
- Fabric: Choose a fabric that complements your quilt.
- Ruler and Rotary Cutter: For precise measurements and cutting.
- Sewing Machine or Needle and Thread: Depending on your preference.
- Iron and Ironing Board: Essential for crisp, flat binding.
- Pins or Clips: To hold the binding in place.
Steps to Create Quilt Binding
1. Calculate and Cut Fabric Strips
Measure the quilt’s perimeter and add about 10-12 inches for joining and overlap. Cut binding strips of the desired width (commonly 2.5 inches) along the fabric’s straight grain.

2. Joining Strips
Join the strips by aligning them at right angles and sewing diagonally from corner to corner. Trim the excess, press seams open, and fold the strips in half lengthwise, pressing them flat.
3. Prepare the Quilt Edges
Square up the quilt edges and layer the binding along one side, leaving a tail for later. Start stitching about 8-10 inches away from the tail, leaving space to join the ends.
4. Attaching the Binding
Align the raw edges of the binding with the quilt’s edge, using pins or clips to secure it in place. Stitch along the binding, pivoting at corners, and stopping a quarter-inch from the edge.
5. Mitering Corners
When approaching a corner, stop stitching a quarter-inch from the edge. Fold the binding up, creating a 45-degree angle, then fold it back down, aligning the next edge. Continue stitching.
6. Joining Ends
Stop stitching a few inches from the starting point. Open the binding tails, trim to overlap, and stitch them together. Finish stitching the binding.
7. Finishing Touches
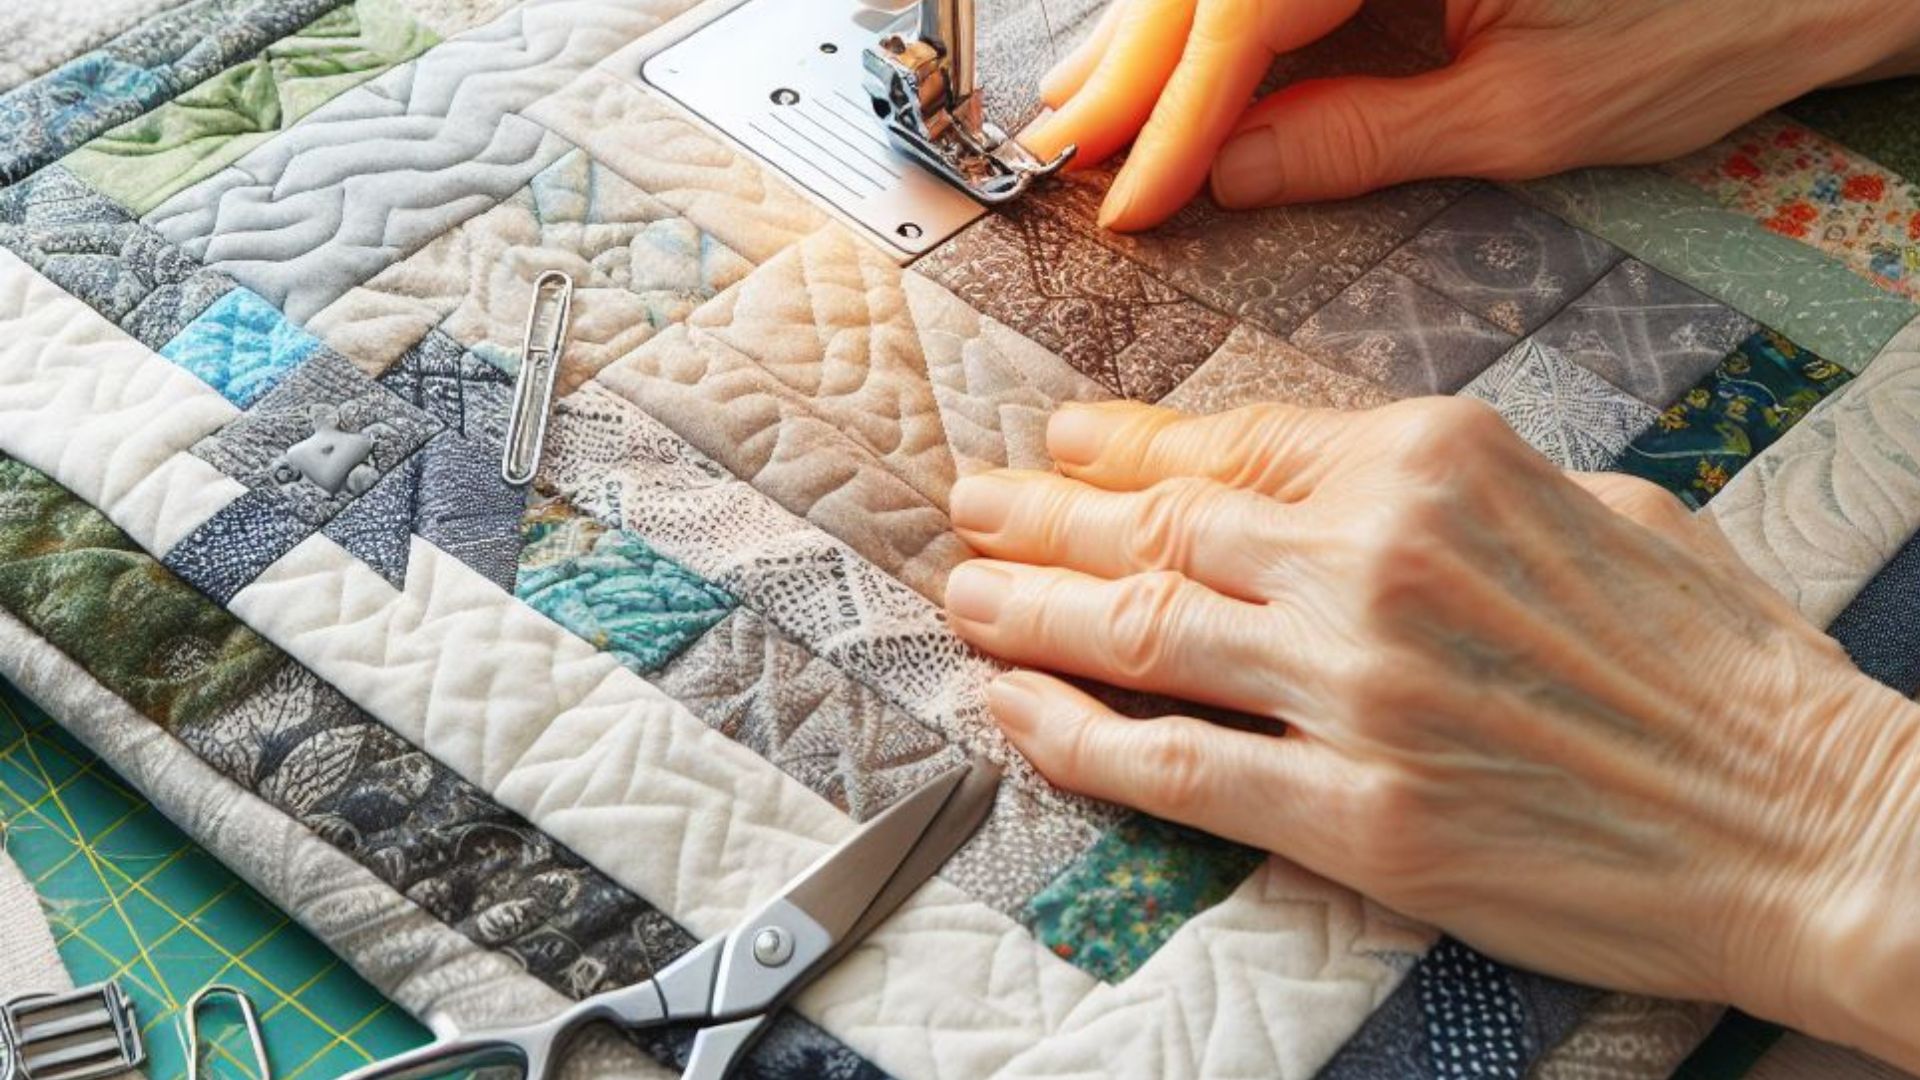
Fold the binding over the quilt edge, tucking the raw edge under, and hand stitch or machine stitch it in place. Press the binding for a smooth, polished look.
External Resources for Further Learning:
Moving forward
Creating quilt binding is the final step that brings your quilt to life. With practice and patience, you’ll develop the skill to beautifully frame your quilts, adding that professional touch that sets them apart. Enjoy the journey of binding your quilts, turning them into cherished works of art.
Choosing the Right Binding
Selecting the ideal binding fabric is pivotal. Consider using a fabric that complements your quilt top while also ensuring durability. Cotton fabrics are a popular choice due to their versatility, ease of handling, and wide array of colors and patterns.
Machine vs. Hand Stitching
The method of attaching the binding is a matter of personal preference. Machine stitching offers speed and efficiency, while hand stitching provides a more traditional, decorative finish. Experiment with both methods to discover which suits your style best.
Troubleshooting Tips
Encountering challenges is part of the quilting journey. Here are a few troubleshooting tips:
- Uneven Binding Width: Consistency is key. Use a binding tool or ruler to maintain an even width throughout.
- Bunching or Wrinkling: Ensure the quilt layers lay flat and smooth as you attach the binding, adjusting and easing out any wrinkles.
- Mismatched Ends: Take care when joining the binding ends, ensuring a snug and seamless connection.
Embrace Practice and Patience
Creating quilt binding is an art that evolves with practice. Don’t be discouraged by initial challenges. Each quilt is a canvas for improvement, allowing you to refine your skills with every stitch.
Conclusion
Mastering quilt binding is a rewarding journey within the world of quilting. It’s the final step that elevates your quilt from a collection of fabric pieces to a stunning work of art. With precision, creativity, and a touch of patience, you’ll soon find joy in crafting beautifully bound quilts that radiate charm and character.
Remember, every stitch tells a story, and each quilt you bind becomes a unique expression of your creativity and dedication to this timeless craft.
Comparison tabular
| Aspect | Machine Stitching | Hand Stitching |
|---|---|---|
| Speed | Faster | Slower |
| Efficiency | Efficient for large projects | Ideal for small projects or adding a personal touch |
| Consistency | May offer more uniform stitches | Depends on individual skill; may have varied stitch consistency |
| Ease of Use | Generally easier for beginners | Requires practice and patience |
| Decorative Finish | Neat and precise | Offers a more traditional, decorative touch |
| Versatility | Well-suited for quilts meant for regular use | Adds a personalized, handmade feel to quilts |
| Control | Limited control over stitch appearance | Complete control over stitch type and appearance |
| Time Investment | Saves time for larger quilts | Time-consuming, especially for intricate designs |
| Professional Look | Provides a polished, professional look | Offers a classic, traditional finish |
| Skill Development | Focuses on machine control and precision | Enhances hand-sewing skills and attention to detail |
| Suitability | Ideal for beginners or those seeking efficiency | Appeals to quilters valuing craftsmanship and intricate detail |
This comparison should help you weigh the pros and cons of both methods based on your preferences, project size, and desired outcome. Both machine stitching and hand stitching bring their unique qualities to the art of quilt binding, allowing you to choose the method that aligns best with your style and quilting goals.
Wrapping up
In the intricate world of quilting, the binding is where artistry meets functionality. Whether you choose the efficiency of machine stitching or the timeless elegance of hand stitching, remember that each method adds its own touch to your quilt.
Embrace the journey of creating quilt bindings. It’s not just about neatly enclosing edges; it’s about infusing your unique style and passion into every stitch. As you refine your skills and explore the nuances of binding, you’ll discover a world of possibilities to enhance and personalize your quilts.
So, pick up your favorite fabrics, thread your needles, or set up your sewing machines. Let each quilt binding you create be a testament to your creativity, patience, and love for this cherished craft. Enjoy every stitch, for it’s these stitches that bind not just the fabric but also the stories and memories woven into your quilts.
Happy quilting!

For over a decade, I’ve been Mike, an artist, crafter, and designer deeply immersed in the Croc world. I thrive on crafting unique, size-inclusive patterns, fostering creativity, and sharing them on ktforum.com. My designs aim to ignite your creative spark and delight you, ensuring clarity and ease of use through rigorous testing. Join me in expressing your creative flair and showcasing your craft with joy.
Related Posts
- A Guide to Attaching Quilt Blocks Together: Creating Your Perfect Quilt
Quilting is a beautiful craft that allows you to weave together fabric, creativity, and warmth.…
- Creating Even Stitches in Your Quilt: A Comprehensive Guide
Quilting is an art form that involves precision, creativity, and attention to detail. One crucial…
- The Beginner's Guide to Easy Quilt Patterns
Quilting is an art that weaves together creativity, fabric, and patience to create beautiful, functional…
- Creating a Quilt: A Timeless Craft
Quilting, a cherished craft passed down through generations, invites both beginners and seasoned artisans into…

