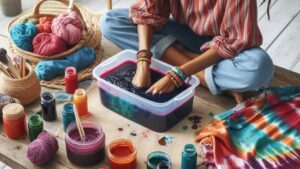
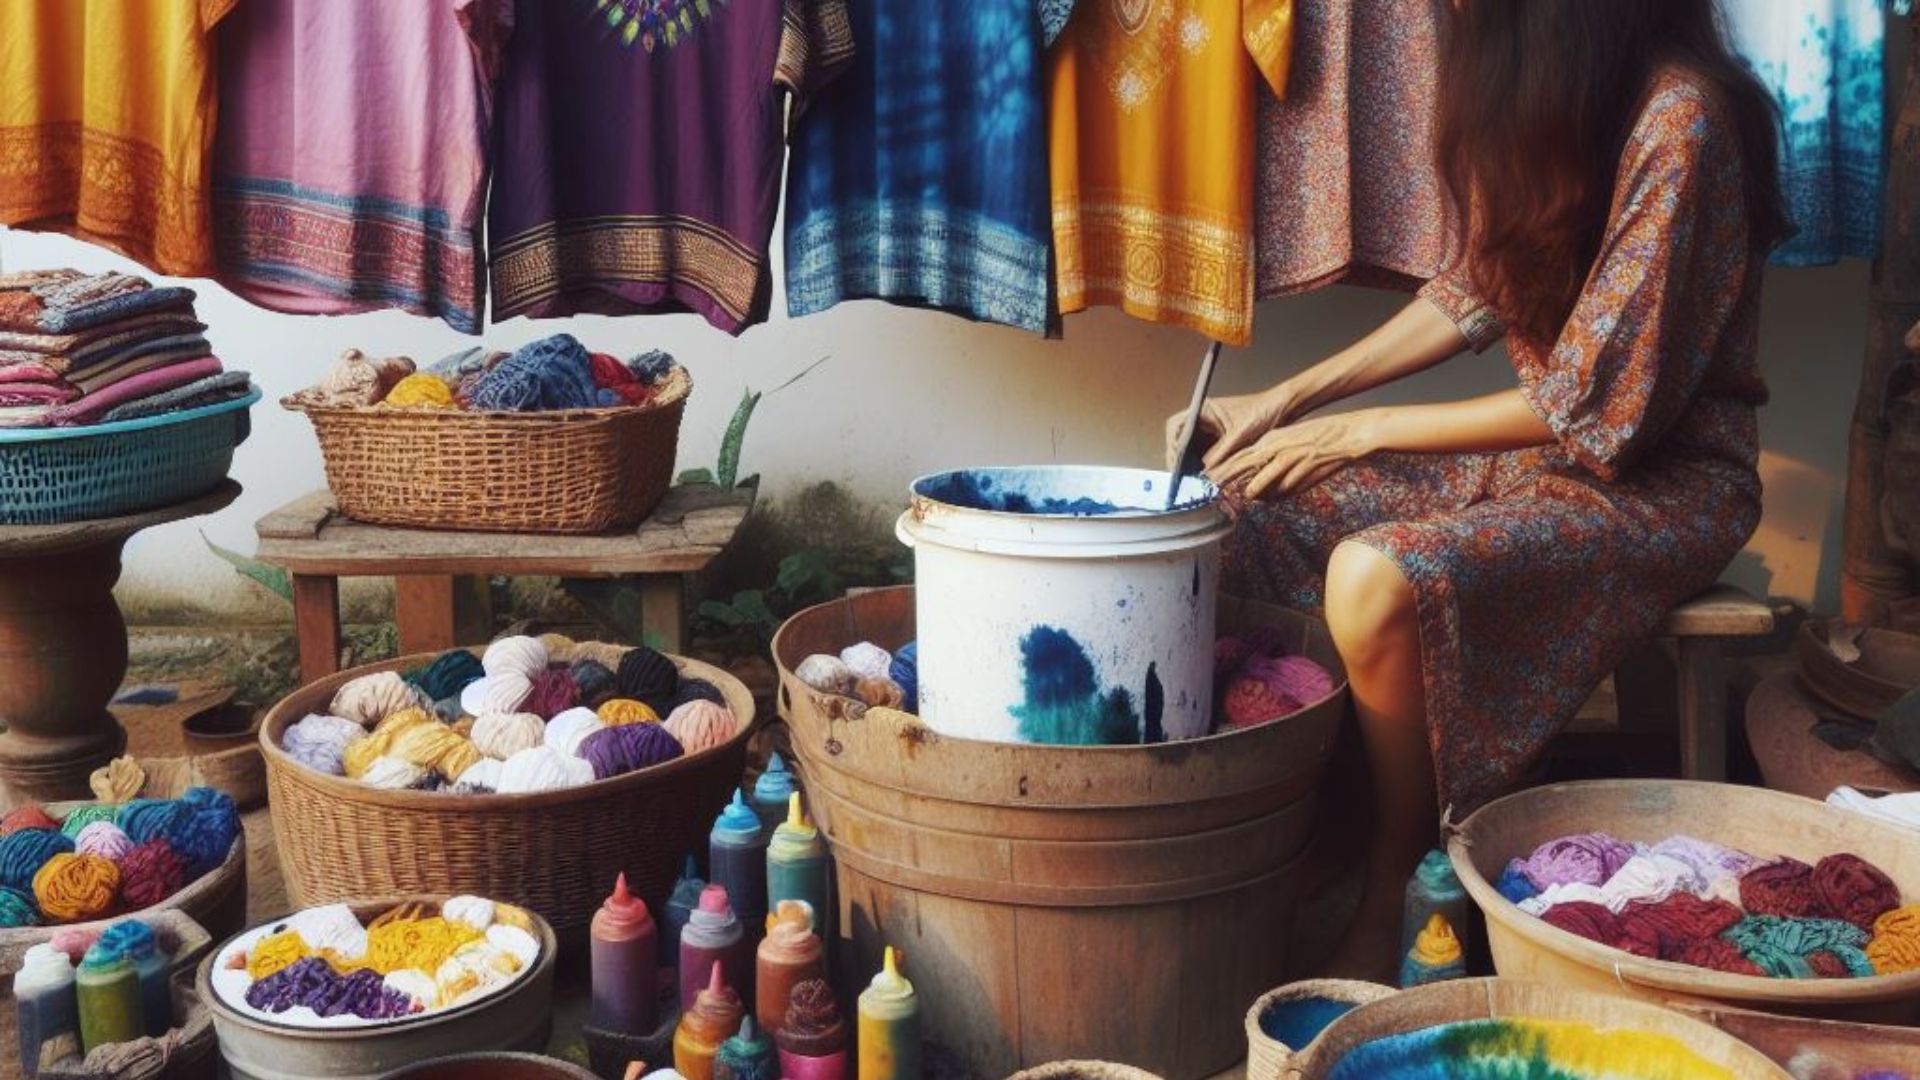
Tie-dyeing is a vibrant and creative way to infuse life into fabrics, but ensuring colors set properly without bleeding or mixing can be crucial. One common question that arises is whether you can set tie-dye in a container alongside other dye projects. Let’s explore this!
Can Tie-Dye Be Set in the Same Container as Other Dye Projects?
When setting tie-dye, it’s essential to prevent colors from bleeding into each other. This bleeding can occur if different dye projects are set together in the same container. Here’s why:
- Risk of Color Transfer: Each dye project might still carry excess dye, which can transfer when the fabric is damp or wet. If tie-dye items are placed with other dye projects, the risk of color mixing increases.
- Dye Absorption: Tie-dye often involves unique folding or tying techniques, resulting in sections of fabric that absorb dye differently. When these pieces are in contact with other dyed fabrics, the dye could transfer between them, affecting the desired patterns and colors.

Tie-Dye Settling and Mixing with Other Dye Projects
Best Practices for Setting Tie-Dye:
To ensure the best outcome for your tie-dye projects and prevent color bleeding or mixing:
- Set Tie-Dye Separately: It’s advisable to set tie-dye items separately from other dye projects. This minimizes the risk of colors bleeding or altering the intended patterns.
- Use Individual Containers: When setting multiple tie-dye items simultaneously, consider using separate containers for each piece. This helps maintain the integrity of the dye and prevents unwanted color transfer.
- Rinse Carefully: After the initial dyeing process, rinse each tie-dye item thoroughly before setting it. This helps remove excess dye and minimizes the chances of color bleeding when setting the dye.
- Wait for Dye to Set: Follow the recommended time for setting the tie-dye as per the dye manufacturer’s instructions. Avoid rushing this process, as proper setting time ensures vibrant colors that last.
So,….
While the allure of setting tie-dye alongside other dye projects in a container might seem convenient, it’s prudent to prioritize preserving the integrity of your tie-dye designs. Setting tie-dye separately helps maintain the vibrant colors and intricate patterns you’ve created, ensuring a stunning end result.
experimentation is part of the tie-dye process, so don’t hesitate to try new techniques while keeping these best practices in mind to achieve the desired results.
For more information on tie-dye techniques or dye setting, you can explore resources such as Tie-Dye Techniques or Dye Setting Tips.
Maintaining Tie-Dye Brilliance and Preventing Color Bleeding
Now that we’ve covered the basics of setting tie-dye separately, let’s delve deeper into the nuances of maintaining brilliance and preventing color bleeding:
1. Fabric Pre-Treatment:
Before starting the tie-dye process, ensure the fabric is pre-washed to remove any coatings or residues that might hinder dye absorption. This step can prevent uneven dyeing and aid in color retention.
2. Choosing the Right Dye and Fixative:
Opt for high-quality dyes that are specifically designed for tie-dyeing. These dyes are formulated to hold color well and are less likely to bleed. Using a fixative after dyeing also aids in setting the colors, making them more resistant to bleeding.
3. Proper Dye Application:
Take care when applying the dye to different sections of the fabric. Using squeeze bottles or brushes can help control the dye application, minimizing the chances of colors bleeding into unwanted areas.
4. Drying and Setting:
After applying the dye, ensure the fabric dries thoroughly before setting the colors. Follow the instructions provided by the dye manufacturer for the recommended setting process, which often involves heat or time for the dye to bond with the fabric fibers.
5. Washing and Care:
When washing tie-dye items for the first few times, do so separately or with similar colors to prevent any potential bleeding. Use cold water and mild detergent to preserve the vibrancy of the colors. Avoid soaking tie-dye items for extended periods.
6. Storing Tie-Dye Items:
Store tie-dye items separately, especially when they are damp or not fully dried. This prevents colors from bleeding onto other fabrics.
Conclusion:
Tie-dyeing is an exciting and creative process that can yield stunning results. By following these guidelines, you can maintain the brilliance of your tie-dye creations and prevent unwanted color bleeding, ensuring that each piece retains its unique and vibrant appearance.
Experimentation and creativity are key components of tie-dye, so feel free to explore different techniques and color combinations while keeping these best practices in mind.
For further insights into tie-dye maintenance and care, you can refer to resources such as Tie-Dye Maintenance Guide or Dye Fixatives.
Tie-dyeing is a fantastic way to express creativity and add a splash of color to your world. Enjoy the process, and may your tie-dye adventures be filled with vibrant hues and captivating patterns.
Comparison tabular
| Aspect | Setting Tie-Dye Separately | Setting Tie-Dye with Other Dye Projects |
|---|---|---|
| Risk of Color Transfer | Minimized | Increased |
| Preservation of Patterns | Ensured | Risk of Alteration |
| Color Bleeding Possibility | Reduced | Higher |
| Ease of Monitoring | Easier due to Isolation | More Complex due to Multiple Projects |
| Container Usage | Individual Containers Recommended | Shared Container May Lead to Color Interference |
| Rinsing Efficiency | More Effective | Potential Interference Between Fabrics |
| Dye Setting Control | Enhanced | Potential Loss of Control |
| End Result Integrity | Preserved | Risk of Unintended Color Blending |
This comparison highlights the advantages of setting tie-dye separately, emphasizing better color preservation, reduced risk of bleeding, and greater control over the dye-setting process.
Wrapping up
In the colorful world of tie-dye, setting your creations separately can be the key to preserving their vibrancy and uniqueness. By giving your tie-dye projects their individual space and attention, you ensure that each piece retains its distinct patterns and colors without the risk of unwanted blending or bleeding.
Remember, the journey of tie-dyeing is as delightful as the finished product. Embrace experimentation, explore various techniques, and let your creativity flow while keeping in mind the best practices to maintain your tie-dye brilliance.
Setting tie-dye separately might seem like an extra step, but it’s a small investment that pays off with vivid, long-lasting colors and designs that truly stand out. Enjoy the process, cherish the artistry, and may your tie-dye adventures be filled with joyous bursts of color!
If you have any more queries or need further assistance on tie-dye or related topics, feel free to ask. Happy tie-dyeing.

For over a decade, I’ve been Mike, an artist, crafter, and designer deeply immersed in the Croc world. I thrive on crafting unique, size-inclusive patterns, fostering creativity, and sharing them on ktforum.com. My designs aim to ignite your creative spark and delight you, ensuring clarity and ease of use through rigorous testing. Join me in expressing your creative flair and showcasing your craft with joy.
Related Posts
- Understanding Tie-Dye: A Splash of Creativity
Tie-dye is an art form that’s all about infusing plain fabrics with vivid bursts of…
- Understanding the Impact of Sunlight on Setting Tie-Dye
Tie-dyeing is a vibrant and creative way to add a burst of color to fabrics.…
- To Set or Not to Set: Understanding the Tie-Dye Setting Process
Tie-dyeing is a fantastic way to infuse vibrant colors and creative designs into fabrics. Yet,…
- Reviving Your Tie-Dye: How to Reapply Dye for Better Results
Tie-dye projects are a blast, but sometimes the colors don't pop as expected due to…

