Quilting is a beautiful craft that allows you to weave together fabric, creativity, and warmth. When it comes to assembling your quilt blocks, it’s a pivotal step that brings your design to life.
Let’s delve into the process of attaching quilt blocks together in a few simple steps.
Understanding the Basics
Before diving into the assembly, it’s important to have a few essentials:
- Materials You’ll Need:
- Quilt blocks
- Sewing machine or needle and thread
- Iron
- Pins
- Seam ripper (optional)
- Preparing Your Blocks:
- Ensure all quilt blocks are trimmed to the same size.
- Press each block with an iron to ensure they’re flat and neat.
Step-by-Step Process
Follow these steps to attach your quilt blocks seamlessly:
1. Layout Planning
Before sewing, arrange your blocks in the desired pattern. This visual roadmap helps you stay organized during assembly.
2. Row Assembly
- Top Row:
- Take the first two blocks of the top row.
- Place them right sides together, ensuring edges align.
- Pin the edges to keep them in place.
- Stitch along the pinned edge using a ¼-inch seam allowance.
- Press the seam open or to one side, depending on your preference.
- Subsequent Blocks:
- Continue adding blocks in the row using the same method until the entire row is complete.
- Remember to press seams as you go for a polished finish.

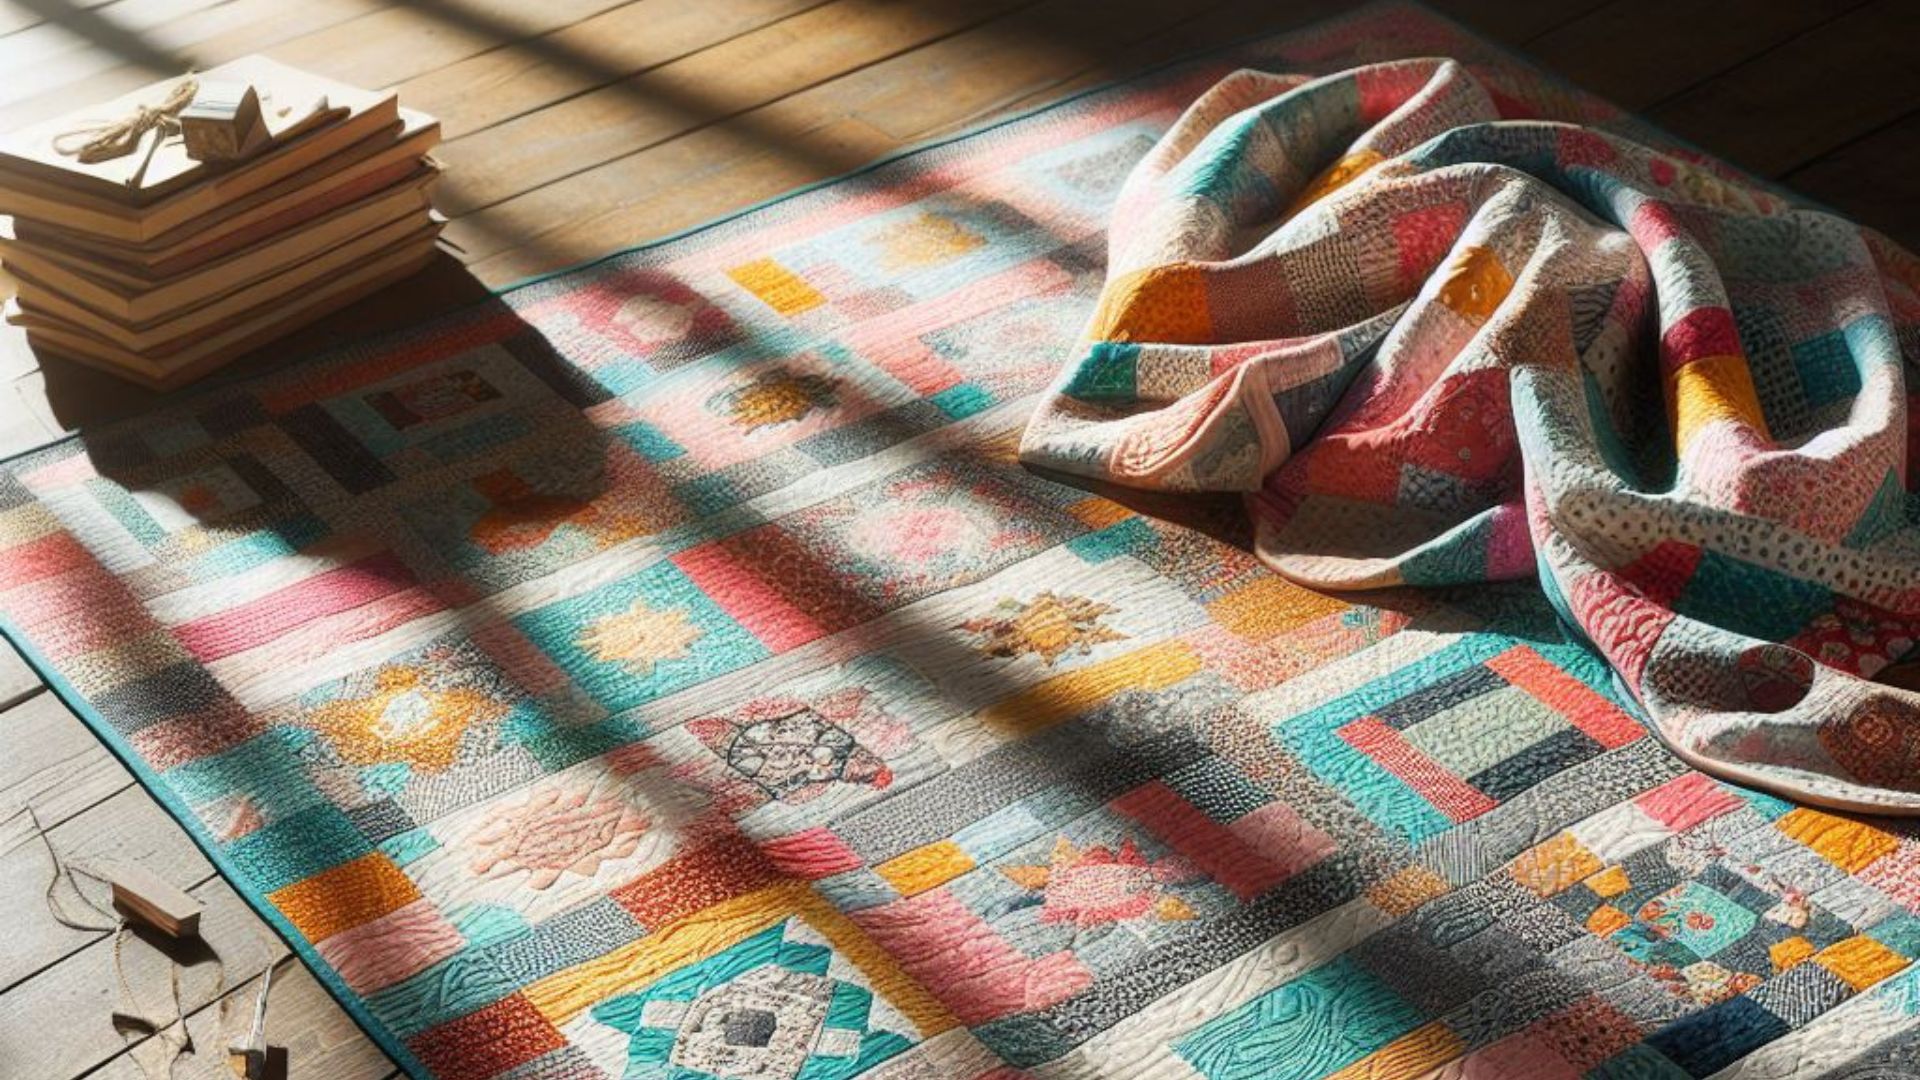
Colourful Quilt and a stack of blocks
3. Joining Rows
- Matching Seams:
- Once the rows are ready, align them right sides together.
- Match the seams of adjacent blocks carefully.
- Pin to secure the alignment before stitching.
- Stitching Rows:
- Sew the rows together using a ¼-inch seam allowance.
- Press the seams open or to the side as per your preference.
4. Finishing Touches
- Final Pressing:
- Press the entire quilt top to set the seams and achieve a smooth finish.
- Inspect & Adjust:
- Check for any misalignments or irregularities.
- Use a seam ripper if needed to correct mistakes.
- Quilt Sandwich:
- Once the quilt top is assembled, create a quilt sandwich by adding batting and backing fabric.
- Secure the layers together with basting stitches.
So, ….
Assembling quilt blocks is a fulfilling process that turns individual pieces into a cohesive masterpiece. Remember to take your time, enjoy the journey, and let your creativity shine through each stitch.
For further guidance on quilting techniques or exploring unique designs, check out these helpful resources:
- Quilting Basics – Craftsy
- Connecting Quilt Blocks – The Spruce Crafts
- Creative Quilting Ideas – National Quilters Circle
Moving forward
Now that you’ve mastered attaching quilt blocks, let your imagination soar as you create stunning quilts to cherish for generations.
Advanced Tips for Attaching Quilt Blocks Seamlessly
Now that you’re acquainted with the fundamental steps of attaching quilt blocks, let’s explore some advanced techniques and troubleshooting tips to refine your quilting journey.
Advanced Techniques
- Nested Seams:
- To reduce bulk and achieve precise alignment, use nested seams. This involves pressing seam allowances in opposite directions when joining blocks, allowing seams to interlock snugly.
- Chain Piecing:
- Increase efficiency by chain piecing multiple blocks. Sew them continuously without cutting the threads between blocks, saving time and thread.
- Sashing and Borders:
- Introduce sashing strips between blocks or borders around the quilt to add visual interest and create defined separation between blocks.
Troubleshooting Tips
- Mismatched Blocks:
- If blocks don’t align perfectly, gently ease one block to fit the other while stitching. Avoid stretching the fabric to force alignment.
- Uneven Blocks:
- In case of blocks with varying sizes, use sashing or add extra fabric to smaller blocks to make them uniform before assembly.
- Pressing Techniques:
- Experiment with pressing seams open or to the side. Certain patterns or fabric types may benefit from one method over the other.
Quilting Community and Inspiration
Joining quilting communities or attending workshops can offer invaluable insights, tips, and inspiration. Engaging with fellow quilters allows you to learn new techniques, troubleshoot challenges, and find endless inspiration for your next quilt project.
Additional Resources for Quilting Mastery
To further enhance your quilting expertise and explore new horizons, here are a few more resources:
- Advanced Quilting Techniques – The Quilting Company
- Quilting Forums – QuiltingBoard
- Modern Quilting Ideas – Love Patchwork & Quilting
Remember, each quilt tells a unique story. Embrace imperfections as part of your quilt’s charm and allow your creativity to flow freely as you experiment with different techniques and designs.
Comparison tabular
Here’s a comparison table summarizing the key aspects of attaching quilt blocks, showcasing both the basic and advanced techniques:
| Aspect | Basic Technique | Advanced Technique |
|---|---|---|
| Preparation | Trim blocks to uniform size. | Utilize nested seams for precise alignment. |
| Layout Planning | Arrange blocks in desired pattern visually. | Incorporate sashing or borders for added visual appeal. |
| Row Assembly | Join blocks using ¼-inch seam allowance. | Implement chain piecing for increased efficiency. |
| Joining Rows | Match seams, pin, and stitch rows together. | Troubleshoot mismatched blocks with gentle adjustments. |
| Finishing | Press quilt top for a smooth finish. | Experiment with pressing techniques for different effects. |
| Troubleshooting Tips | Correct misalignments or uneven blocks. | Join quilting communities for insights and inspiration. |
This table highlights the fundamental steps in attaching quilt blocks and introduces advanced techniques and troubleshooting tips for a more refined quilting experience.
Feel free to refer back to this table as a quick guide in your quilting endeavors.
Wrapping up
Quilting is an art that intertwines creativity, precision, and heart. As you embark on your quilting journey, remember that each stitch carries a piece of your passion and dedication. Whether you’re just starting or delving into advanced techniques, cherish the process and the stories woven within every quilt block.
From the foundational steps of aligning blocks to the intricate artistry of nested seams and innovative designs, your quilting adventure is boundless. Embrace the imperfections, celebrate the uniqueness of each quilt, and find joy in the creative journey.
With every stitch, you’re creating not just a quilt, but a legacy of craftsmanship and love. So, pick up your fabric, thread your needle, and let your imagination unfurl as you craft stunning quilts to cherish and share.
Happy Quilting!

For over a decade, I’ve been Mike, an artist, crafter, and designer deeply immersed in the Croc world. I thrive on crafting unique, size-inclusive patterns, fostering creativity, and sharing them on ktforum.com. My designs aim to ignite your creative spark and delight you, ensuring clarity and ease of use through rigorous testing. Join me in expressing your creative flair and showcasing your craft with joy.
Related Posts
- How to Square Up Quilt Blocks: A Guide for Perfecting Your Project
Quilting is a beautiful craft that melds creativity and precision. Yet, even the most carefully…
- A Guide to Creating Quilt Binding: Stitching Your Masterpiece Together
Quilting is an art form that weaves together creativity, skill, and tradition. Whether you're a…
- Basting a Quilt: A Guide to Perfect Stitches
Quilting is an art that beautifully weaves together creativity and precision. Whether you’re a seasoned…
- The Perfect Size for Your Lap Quilt: A Guide for Cozy Creations
Quilting is an art form that intertwines creativity and comfort. Whether you're a seasoned quilter…

