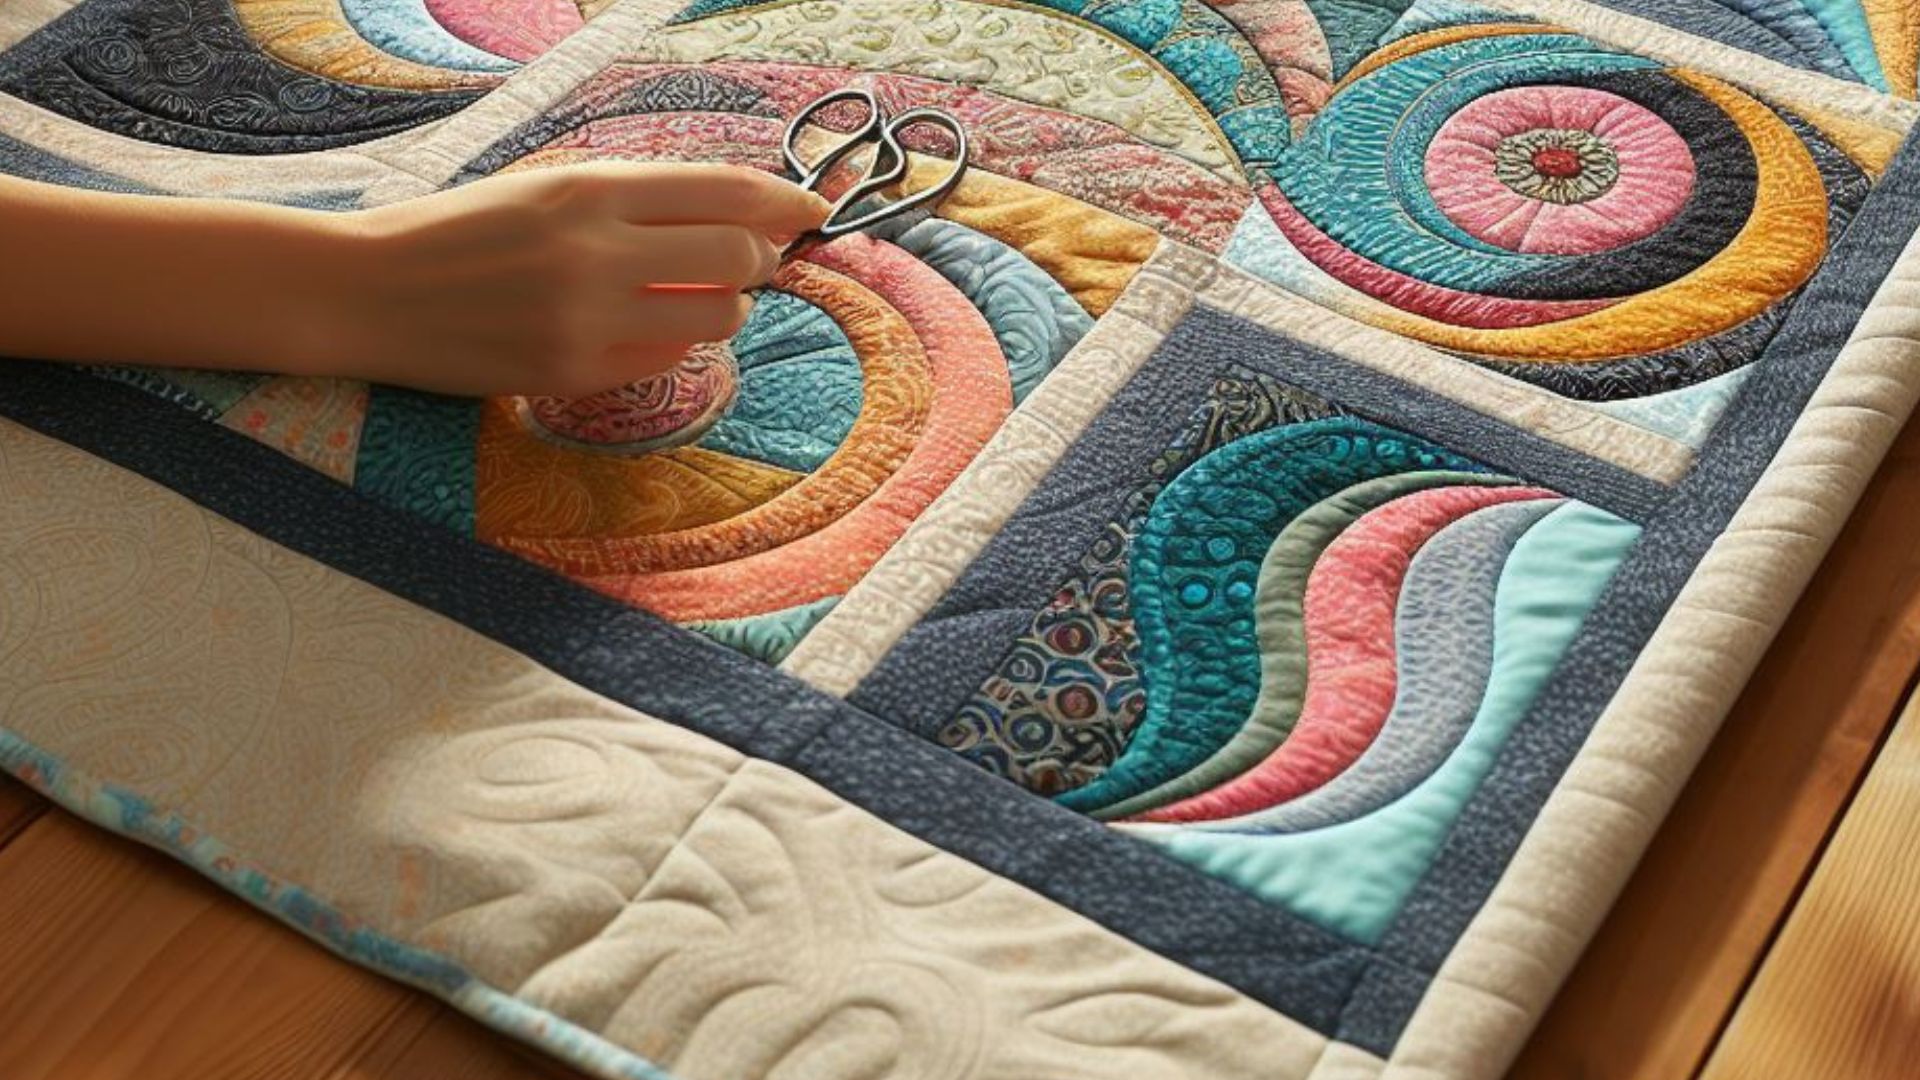
Quilting curves can add a stunning dimension to your creations, but the challenge of avoiding puckering often makes it seem daunting. Fear not. With a few expert tips and techniques, you can breeze through curved quilting like a pro, achieving flawless results every time.
Understanding the Basics
1. Choose the Right Fabric: Opt for fabrics that are more forgiving with curves, like quilting cotton or fabrics with a bit of stretch. These materials are easier to manipulate without causing puckers.
2. Practice Precision Cutting: Accurate cutting is crucial. Use templates or rulers designed for curves, ensuring your fabric pieces match perfectly.
Techniques to Prevent Puckering
3. Pinning and Basting: Secure your curved pieces with numerous pins or use basting techniques to hold the fabric layers in place before sewing. This helps prevent shifting, reducing the chances of puckering.

4. Employ Proper Stitching Techniques:
- Slow and Steady: Sewing slowly around the curve gives you better control and reduces the likelihood of fabric distortion.
- Relax the Tension: Loosening the tension on your sewing machine can be beneficial. Experiment with your machine settings to find the right balance.
- Try Different Presser Feet: A walking foot or a quarter-inch foot can help feed the layers evenly, minimizing puckering.
5. Incorporate Clipping or Notching: Making small cuts or notches along the seam allowance on the convex side of the curve allows the fabric to ease into place, preventing puckers.
6. Embrace Easing Techniques: Gently manipulate the fabric while sewing, using your fingers to ease the curve. This distributes any excess fabric evenly, reducing puckering.
Practice Makes Perfect
7. Test on Scrap Fabric: Before diving into your main project, practice quilting curves on scrap fabric. This allows you to familiarize yourself with the techniques without the pressure of perfection.
8. Embrace Mistakes: Don’t be discouraged by initial puckering. Learning curves in quilting (pun intended!) take time. Use each attempt as a learning opportunity.
External Resources for Further Guidance
For more in-depth guidance and visual demonstrations, check out these valuable resources:
- National Quilters Circle – Tips for Quilting Curves
- The Spruce Crafts – Curved Piecing Tips
- Suzy Quilts – Mastering Curved Piecing
So, ….
Quilting curves without puckering may seem intimidating, but with patience and practice, you’ll soon conquer this technique. each stitch is a step closer to mastering the art of curved quilting. Embrace the process, enjoy the journey, and let your creativity flow freely.
Overcoming Common Challenges
9. Stabilize the Fabric: Using stabilizers or interfacing can add support to your fabric, reducing stretch and potential puckers.
10. Experiment with Different Threads: Thicker threads or adjusting the tension for different thread weights can influence the outcome. Test various thread options on scrap fabric to find what works best for your project.
Troubleshooting Puckering
11. Assess Seam Allowances: Check if your seam allowances are consistent. Varying seam allowances can lead to uneven fabric distribution, causing puckering.
12. Adjusting Needle and Thread Size: Ensure your needle size corresponds to the fabric weight. Using a needle that’s too small might cause tension and puckering.
Refining Your Technique
13. Embrace Quilting Tools: Curved safety pins or specialty clips designed for quilting can be game-changers. These tools help secure fabric layers without causing distortion.
14. Explore Different Curved Piecing Methods: Try variations like reverse appliqué or improv piecing to explore alternative ways of achieving stunning curved effects in your quilts.
Keeping the Passion Alive
15. Seek Inspiration: Join quilting communities or follow online forums and social media groups. Engaging with fellow quilters can offer insights, encouragement, and inspiration.
16. Celebrate Progress: Each project, no matter how small, is a step forward. Celebrate your achievements, learn from challenges, and enjoy the creative journey.
Quilting curves without puckering demands patience, practice, and a willingness to experiment. By incorporating these techniques, troubleshooting potential issues, and persistently refining your skills, you’ll master the art of quilting curves flawlessly.
there’s no one-size-fits-all approach. Adapt and refine these tips based on your preferences and the specific demands of your projects. With dedication and a passion for quilting, you’ll soon create breathtaking curved quilts with confidence and ease.
Embracing Creative Solutions
17. Utilize Pressing Techniques: Proper pressing is vital. Use a tailor’s clapper or pressing tool to set seams and flatten fabric without stretching, ensuring a smooth quilt top.
18. Experiment with Different Designs: Curved quilting offers endless design possibilities. Play with various layouts and patterns to find what resonates with your style and vision.
Overcoming Precision Challenges
19. Marking Seam Lines: Utilize fabric markers or specialty tools to mark sewing lines on your fabric. Accurate markings serve as guides, aiding in precise sewing along curves.
20. Practice, Practice, Practice: Repetition is key to mastery. Allocate time to specifically practice curved piecing techniques to refine your skills.
Harnessing External Guidance
Seeking guidance and inspiration from the quilting community can significantly enhance your quilting journey. Online platforms, quilting blogs, and video tutorials provide a wealth of information, techniques, and encouragement.
Embracing the Learning Process
Remember, every quilter encounters challenges when quilting curves. Embrace these moments as opportunities for growth. Each project contributes to your expertise and artistic development.
External Resources for Deeper Insights
In addition to the previously mentioned resources, consider exploring these valuable links:
- The Quilting Company – Tips for Perfect Curved Seams
- Love Patchwork & Quilting – Curved Piecing Tricks
- Modern Domestic – Curved Piecing Tutorial
Final Words of Encouragement
Quilting curves without puckering demands perseverance, experimentation, and a willingness to learn. Every stitch brings you closer to mastering this beautiful technique.
Remember, the joy lies not just in the final quilt, but in the journey of creation itself. Embrace the process, celebrate your progress, and let your passion for quilting guide you to stunning, pucker-free curved quilts!
Comparison tabular
| Techniques | Advantages | Considerations |
|---|---|---|
| Pinning and Basting | Secures fabric layers, reduces shifting | Time-consuming, may leave marks on fabric |
| Proper Stitching | Offers better control, reduces distortion | Requires adjustment to machine settings |
| Clipping/Notching | Eases fabric into place, prevents puckering | Careful not to clip too close to the seam |
| Easing Techniques | Evenly distributes excess fabric | Requires patience and practice |
| Stabilizing Fabric | Provides support, reduces stretch | Adds an extra layer, altering fabric feel |
| Different Threads | Influences tension, can reduce puckering | Testing required to find ideal thread weight |
| Assessing Seam Allowances | Ensures even fabric distribution | Inconsistent allowances can cause issues |
| Adjusting Needle/Thread Size | Matched to fabric weight | Mismatch can lead to tension and puckering |
| Curved Piecing Methods | Offers alternative techniques | May require mastering different approaches |
| Pressing Techniques | Sets seams without stretching | Requires specialized tools for effectiveness |
This comparison table outlines various techniques used in quilting curves, along with their advantages and considerations. Experimenting with these methods and finding the right combination for your quilting projects can help achieve impeccable results.
Feel free to use this table as a quick reference guide in your quilting endeavors.
Wrapping up
As you venture into the world of quilting curves, remember that perfection comes with practice, patience, and a touch of creativity. Embrace the learning process, relish each stitch, and celebrate every quilt as a testament to your progress.
Puckering is part of the journey, not a roadblock. Every attempt brings you closer to mastering this artistry. Allow yourself room for exploration, learn from mistakes, and revel in the joy of creating something uniquely yours.
Let your passion guide you, seek inspiration from fellow quilters, and most importantly, enjoy the artistic journey of quilting curves. With dedication and a sprinkle of creativity, your quilts will beautifully embody your skill and passion.

For over a decade, I’ve been Mike, an artist, crafter, and designer deeply immersed in the Croc world. I thrive on crafting unique, size-inclusive patterns, fostering creativity, and sharing them on ktforum.com. My designs aim to ignite your creative spark and delight you, ensuring clarity and ease of use through rigorous testing. Join me in expressing your creative flair and showcasing your craft with joy.
Related Posts
- Mastering Fabric Yardage Calculation for Quilting: Your Comprehensive Guide
Quilting is a delightful craft, but getting the fabric yardage right can be a puzzle.…
- Quilting Without a Quilting Hoop: Tips and Techniques
Quilting is a beautiful craft that allows you to create stunning and cozy pieces. While…
- Quilting Without Templates: A Guide to Free-Form Quilting
Quilting is a delightful craft that allows you to weave together fabric, creativity, and skill…
- Mastering the Art of Weaving in Ends in Crochet: A Complete Guide
In crochet, weaving in ends is the final touch that brings a project together. Those…

