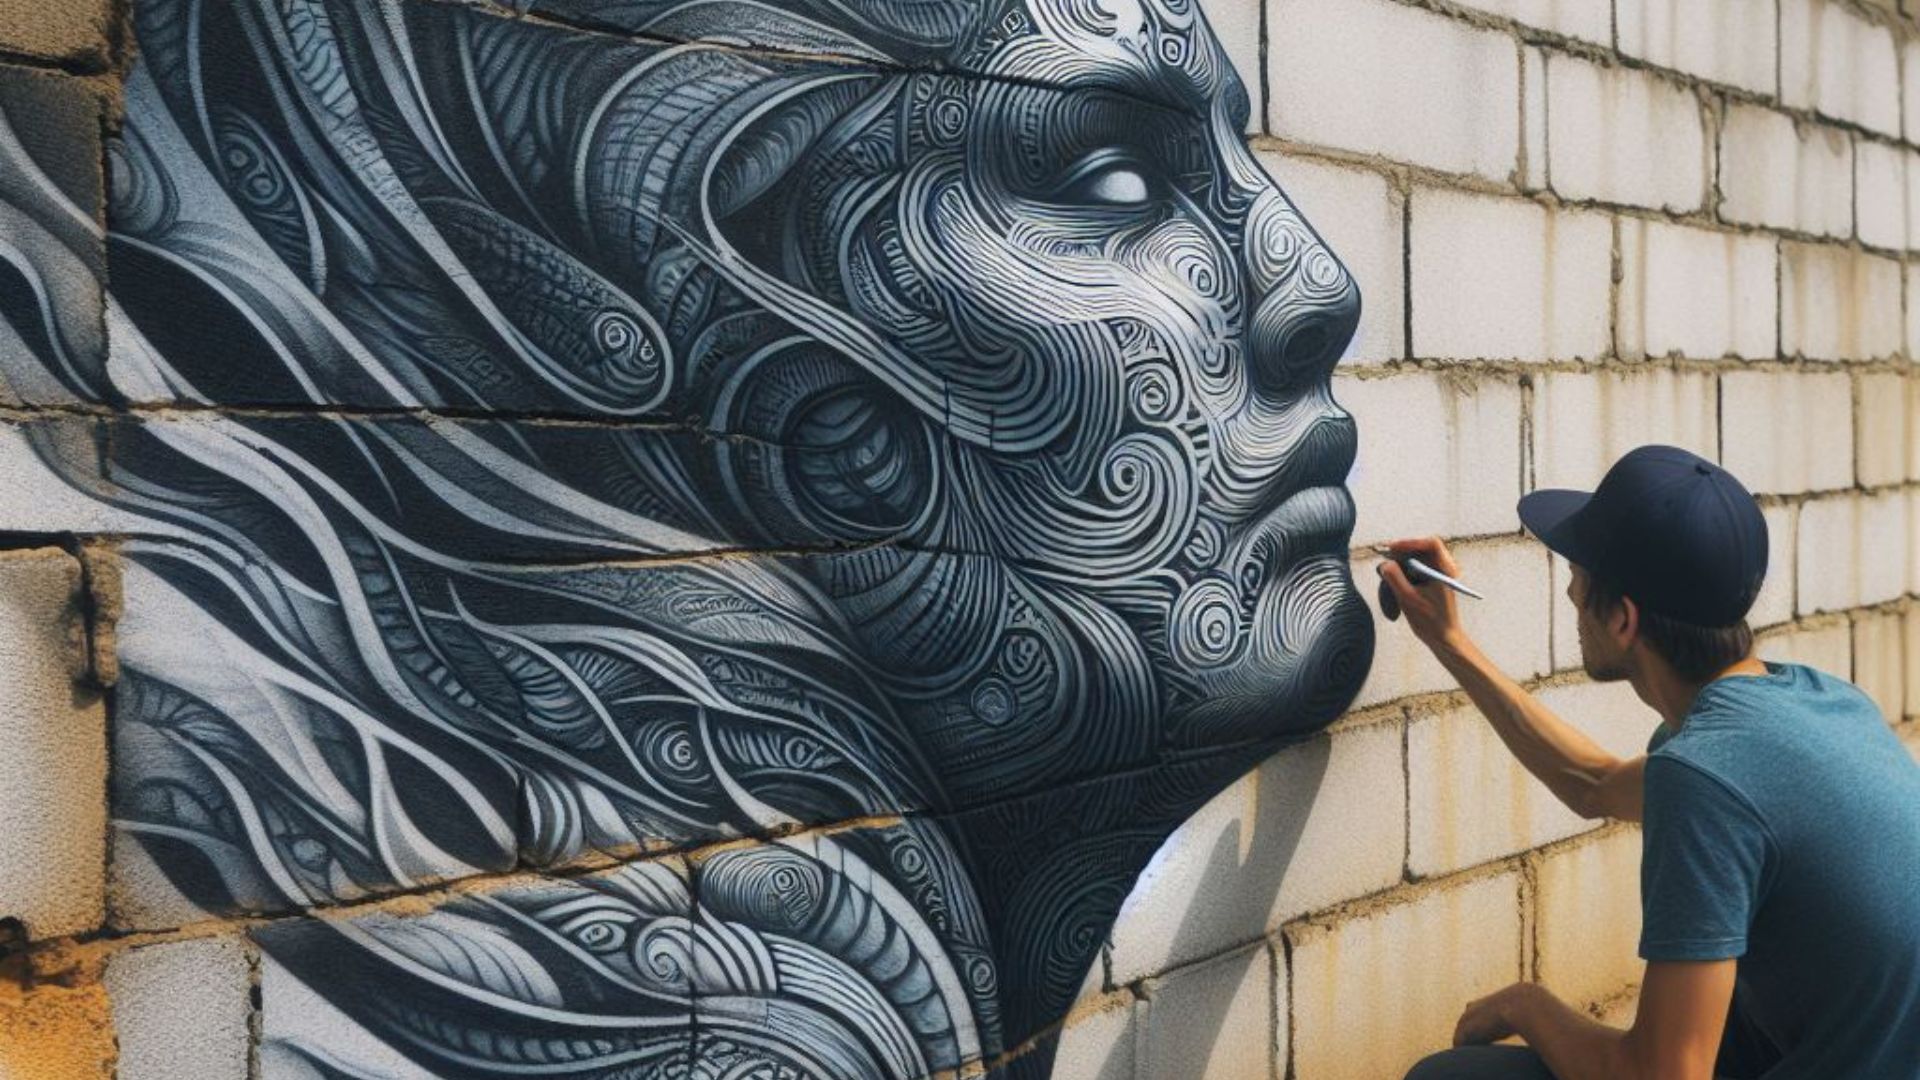
Cinder block walls offer a versatile canvas for creative expression, whether it’s adding artwork, murals, or designs. Transferring a design onto such a surface requires a thoughtful approach and the right tools. Here’s your guide to doing it right.
Understanding Your Design Transfer Options
Transferring a design onto a cinder block wall can be achieved through these methods:
1. Freehand Drawing:
If you have artistic skills, freehand drawing directly onto the wall with chalk or pencil can work wonders. This method allows for spontaneity and unique personal touches.
2. Grid Method:
Break down your design into a grid and replicate it square by square onto the wall. This method is great for accuracy and scaling larger designs.
3. Using Projectors or Stencils:
Projectors can help display an image onto the wall for tracing, while stencils offer a guided way to transfer designs accurately.

Tools You’ll Need:
- Chalk or Pencils: For freehand drawing.
- Grid Lines or Ruler: If using the grid method.
- Projector or Stencils: For precise transfers.
Step-by-Step Guide:
- Prepare the Wall: Clean the surface to remove any dirt or debris that might affect the transfer process.
- Prepare Your Design: Whether it’s a sketch, printout, or stencil, ensure your design is ready for transfer.
- Choose Your Method: Decide on the method that suits your design and skill set the best.
- Start Transferring:
- For freehand drawing: Begin sketching lightly, adjusting proportions as needed.
- For the grid method: Mark grid lines on both the design and wall, then replicate square by square.
- For projectors or stencils: Set up your projector or stencil and trace the design onto the wall.
- Finishing Touches: Once the design is transferred, use appropriate paints or markers to fill in the outlines and bring your creation to life.
Additional Tips:
- Work in sections to maintain accuracy.
- Use masking tape or painter’s tape to mark off areas and keep lines crisp.
- Practice on a small area or scrap material before starting on the wall.
External Resources for Further Guidance:
To delve deeper into these methods and gather more tips and inspiration, here are some useful external resources:
- DIY Network – How to Paint a Mural on a Cement Block Wall: Learn step-by-step instructions for painting murals on cement block walls.
- The Spruce – Using a Projector to Paint a Mural: Discover how to use a projector effectively to transfer designs for murals.
- Stencil Revolution – Tips for Using Stencils on Walls: Detailed guidance on using stencils for wall designs and artwork.
Transferring a design onto a cinder block wall is a creative process that allows for personal flair and artistic expression. Experiment with different techniques and find what works best for your project.
Maintaining Quality and Longevity in Your Wall Design
So, you’ve successfully transferred your design onto the cinder block wall what’s next? Ensuring its durability and preserving the aesthetics are crucial for long-lasting impact. Let’s explore how to maintain the quality of your wall design.
Protecting Your Wall Design:
- Sealing the Wall: Consider applying a sealant or primer before painting to enhance adhesion and protect the design from moisture and weather elements.
- Quality Paints: Opt for high-quality, weather-resistant paints specifically formulated for exterior surfaces. These paints offer better durability and color retention.
- Appropriate Tools: Use brushes, rollers, or sprayers suitable for the texture of cinder block walls to ensure even application.
Maintenance Tips:
- Regular Inspections: Periodically inspect the wall for any signs of wear, such as peeling paint or cracks, and address them promptly.
- Cleaning: Gently clean the wall with mild soap and water to remove dirt or stains. Avoid abrasive cleaners that could damage the design.
Enhancing the Design:
- Touch-Ups: Keep extra paint handy for touch-ups as needed to maintain the vibrancy of the design.
- Add Protective Coating: Apply a clear protective coating over the design to shield it from UV rays and further protect the colors.
External Resources for Maintenance and Enhancements:
To ensure your wall design remains visually appealing and well-maintained, here are additional resources you might find useful:
- HomeAdvisor – How to Paint Cinder Block Walls: Comprehensive guidance on painting and maintaining cinder block walls.
- Sherwin-Williams – Exterior Paint Selection Guide: Insights into choosing the right exterior paint for durability and longevity.
- Bob Vila – Tips for Maintaining Exterior Paint: Tips and tricks for maintaining exterior paintwork to extend its lifespan.
Remember, maintaining your wall design goes beyond the initial transfer. With proper care and attention, your creation can continue to captivate and beautify your space for years to come
Comparison tabular
| Transfer Method | Description | Pros | Cons |
|---|---|---|---|
| Freehand Drawing | Drawing the design directly onto the wall using chalk or pencil. | – Allows for spontaneity
– Personal touch |
– Requires artistic skill
– May lack precision |
| Grid Method | Breaking down the design into a grid and replicating it section by section onto the wall. | – Provides accuracy
– Helps with scaling |
– Time-consuming
– Requires meticulousness |
| Projectors or Stencils | Using projectors to display the design for tracing or employing stencils for guided transfers. | – Precise transfers
– Easier for beginners |
– Equipment dependency
– Limited to stencil/projector capabilities |
This table offers a quick comparison of the methods, highlighting their advantages and limitations. Depending on your skill level, desired precision, and available tools, you can choose the method that best suits your project requirements.
Wrapping up
Transferring a design onto a cinder block wall is a creative endeavor that allows you to infuse personality into your space. Whether you opt for the freehand approach, the structured grid method, or the precision of projectors and stencils, each method has its merits.
Remember, there’s no one-size-fits-all approach. Embrace experimentation and find the method that resonates with your artistic vision and skill set. With proper care and the right materials, your wall design can become a captivating focal point, adding charm and character to your surroundings for years to come.
So, pick up those pencils, set up the projector, or create your grid—it’s time to turn that blank cinder block canvas into a masterpiece that reflects your creativity and style!

For over a decade, I’ve been Mike, an artist, crafter, and designer deeply immersed in the Croc world. I thrive on crafting unique, size-inclusive patterns, fostering creativity, and sharing them on ktforum.com. My designs aim to ignite your creative spark and delight you, ensuring clarity and ease of use through rigorous testing. Join me in expressing your creative flair and showcasing your craft with joy.
Related Posts
- Cleaning Cinder Block Walls Before Painting: A Comprehensive Guide
Painting a cinder block wall can transform its look and elevate the aesthetics of your…
- Painting Cinder Block Walls: Do You Need Primer
Cinder block walls offer durability and strength, but when it comes to adding color or…
- Mastering Color Blending on Cinder Block Walls: Techniques and Tips
Bringing life and vibrancy to a cinder block wall through color blending requires technique and…
- The Role of Sealer Before Painting Cinder Block Walls
When considering painting cinder block walls, the question often arises: is applying a sealer before…

