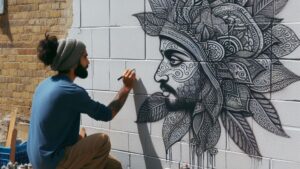
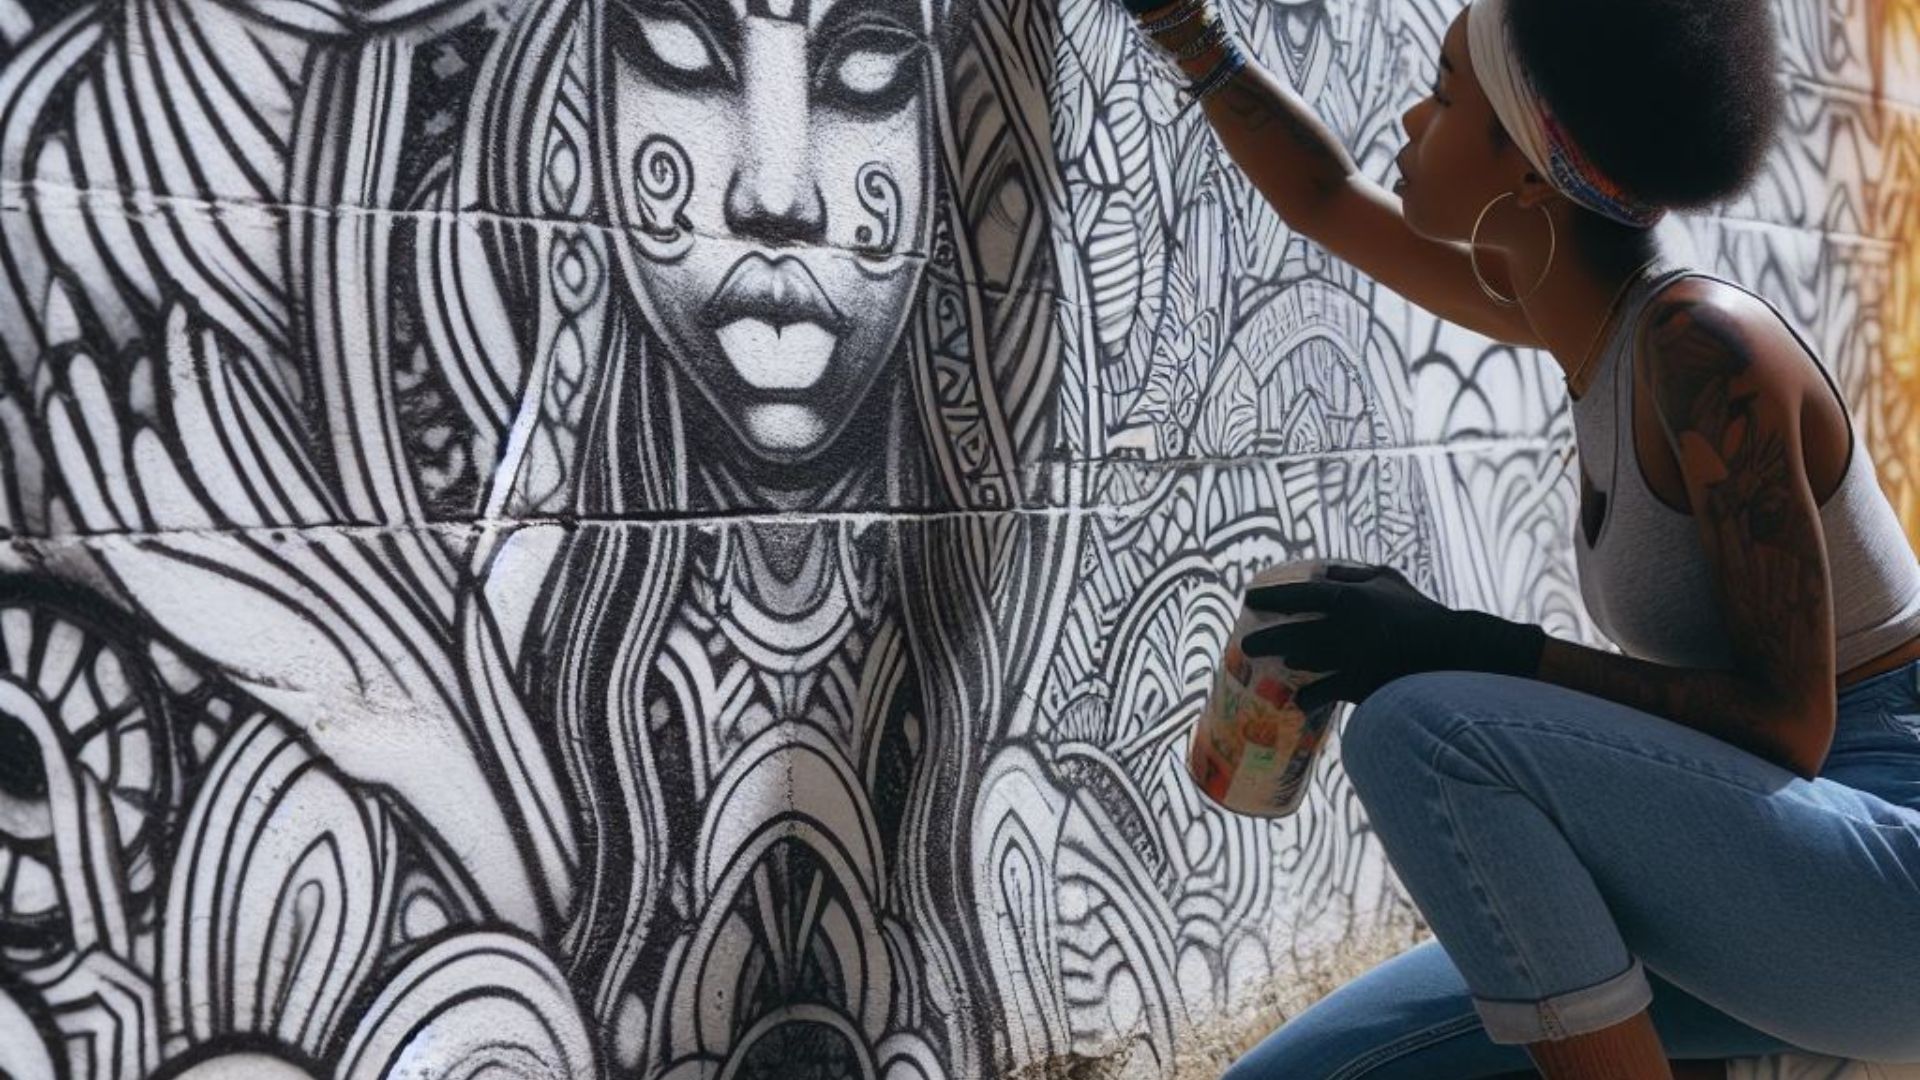
Mural painting is a mesmerizing way to bring life and art into any space, but getting that vision onto the wall requires careful planning and execution. Here’s a comprehensive guide on the best way to sketch a mural design onto a wall.
1. Gathering Your Materials
Before you start, gather your materials: your chosen mural design, graphite pencils of various hardness, erasers, a measuring tape, a level, masking tape, and a projector if needed.
2. Preparing the Wall
Ensure the wall surface is clean, smooth, and primed if necessary. Use a pencil to lightly mark the boundaries of your mural area, and then use a level and measuring tape to establish reference points for accuracy.
3. Creating a Grid
Divide the mural design and wall into a grid to help with scaling. Use a similar grid on your design paper and the wall to transfer the design accurately, square by square.
4. Using a Projector
For larger or more detailed designs, use a projector to display the design on the wall. Adjust the projector’s distance and focus to achieve the desired size and clarity.

5. Freehand Sketching
If you prefer freehand sketching, start by lightly sketching the main elements of your design directly onto the wall using a soft graphite pencil. Take your time and work from larger elements to smaller details.
6. Refining the Sketch
Refine the initial sketch by adjusting proportions, refining lines, and adding depth or shading as needed. Erase any unnecessary lines and ensure the design looks cohesive and balanced.
7. Masking Tape Technique
Another method involves using masking tape to outline the major shapes of the design on the wall. This technique allows for precise edges and clean lines.
8. Checking and Finalizing
Step back regularly to check the proportions and overall look of the mural. Make any necessary adjustments before finalizing the sketch.
9. Sealing the Sketch
Once satisfied with the sketch, use a fixative or a light coat of clear sealer to protect the sketch from smudging or erasing while painting.
10. Begin Painting
With the sketch complete, you’re ready to start painting your mural, following the outlines and details of your sketch.
Creating a mural is a rewarding artistic endeavor that can transform any space. Experiment with different techniques to find what works best for your style and project size.
External Resources for Further Guidance:
Overcoming Challenges and Tips for a Stunning Mural
Scaling the Design
When transferring a small design to a large wall, maintaining proportions can be tricky. Break the design into sections and focus on one part at a time to ensure accuracy.
Adapting to Wall Texture
Uneven or textured walls can make sketching challenging. Adapt by using a stencil or adapting your design to incorporate the wall’s texture creatively.
Blending Colors and Shades
For a captivating mural, master the art of blending colors seamlessly. Practice blending techniques beforehand to achieve depth and dimension in your design.
Embrace Mistakes
Mistakes are part of the creative process. Don’t be afraid to adjust and adapt as you go. Sometimes, mistakes lead to the most innovative solutions.
Lighting Considerations
Consider the lighting in the room where the mural will be. Shadows and light sources might affect how the mural looks, so plan accordingly.
Weather and Wall Conditions
If painting an exterior mural, be mindful of weather conditions. Avoid painting in extreme heat or cold and choose paint suited for exterior walls.
Maintaining Consistency
Maintain a consistent style and technique throughout the mural. This consistency ensures a harmonious and professional-looking final piece.
Engage with the Space
Consider the room’s purpose and ambiance when designing the mural. Let the mural complement and enhance the space rather than overpowering it.
Protecting and Preserving
Once the mural is complete, apply a clear coat or sealant to protect it from wear and tear and to preserve its vibrancy for years to come.
Seek Inspiration and Guidance
Don’t hesitate to seek inspiration from other artists’ work or join mural painting communities for advice, support, and inspiration.
Creating a mural is a labor of love that requires patience, creativity, and dedication. Whether you’re a seasoned artist or a beginner, embrace the process and let your imagination guide your brush.
Comparison tabular
| Sketching Method | Pros | Cons |
|---|---|---|
| Freehand Sketching | – Allows for artistic freedom
– No additional equipment needed |
– Challenging for precise scaling
– Potential for errors in proportions |
| Using a Grid | – Ensures accurate scaling
– Helps maintain proportions |
– Time-consuming to set up the grid – Can be tedious for larger designs |
| Projector | – Perfect for scaling up intricate designs
– Speeds up the transfer process |
– Requires access to a projector – Limited effectiveness in well-lit spaces |
| Masking Tape Technique | – Provides clean, precise outlines
– Helps with defining shapes accurately |
– Can be time-consuming for complex designs
– Requires precision in taping |
Each method has its advantages and drawbacks, so choosing the right one depends on your project’s size, complexity, and personal preference. Feel free to explore these methods to find the one that best suits your mural sketching needs!
Wrapping up
As you embark on your mural journey, remember that sketching is the foundation of a stunning masterpiece. Whether you opt for the artistic freedom of freehand sketching or the precision of using a grid or projector, each method holds its own charm and challenges.
The beauty of mural creation lies not only in the finished artwork but also in the creative process. Embrace the journey, learn from every stroke, and let your imagination flow onto that blank wall.
May your mural tell a story, evoke emotions, and transform spaces into captivating works of art. Happy sketching and painting! If you ever need further guidance or inspiration, the mural painting community and resources are always there to support your artistic endeavors.

For over a decade, I’ve been Mike, an artist, crafter, and designer deeply immersed in the Croc world. I thrive on crafting unique, size-inclusive patterns, fostering creativity, and sharing them on ktforum.com. My designs aim to ignite your creative spark and delight you, ensuring clarity and ease of use through rigorous testing. Join me in expressing your creative flair and showcasing your craft with joy.
Related Posts
- Maintaining Your Mural: A Guide to Long-Term Care
Mural art brings life, color, and character to spaces, but its longevity depends on proper…
- Estimating Paint Quantity for Your Mural: A Step-by-Step Guide
Planning to dive into mural painting? Calculating the right amount of paint is crucial for…
- Crocheting a Cozy Baby Blanket: A Step-by-Step Guide
Crocheting a baby blanket is a delightful project, whether you're a seasoned crafter or just…
- Applying a Base Coat Before Starting a Mural: A Crucial Step for Vibrant Results
Murals are captivating and vibrant artistic expressions that can breathe life into any space. Whether…

