
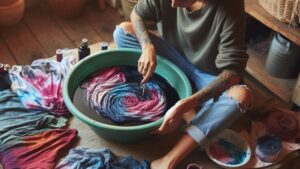
Tie-dyeing has made a bold comeback in the fashion world, offering a vibrant and personalized touch to clothing and fabrics. Whether you’re a seasoned tie-dye enthusiast or a newbie exploring this colorful craft, setting the dye properly is key to preserving your artistic masterpiece.
The Tie-Dye Process
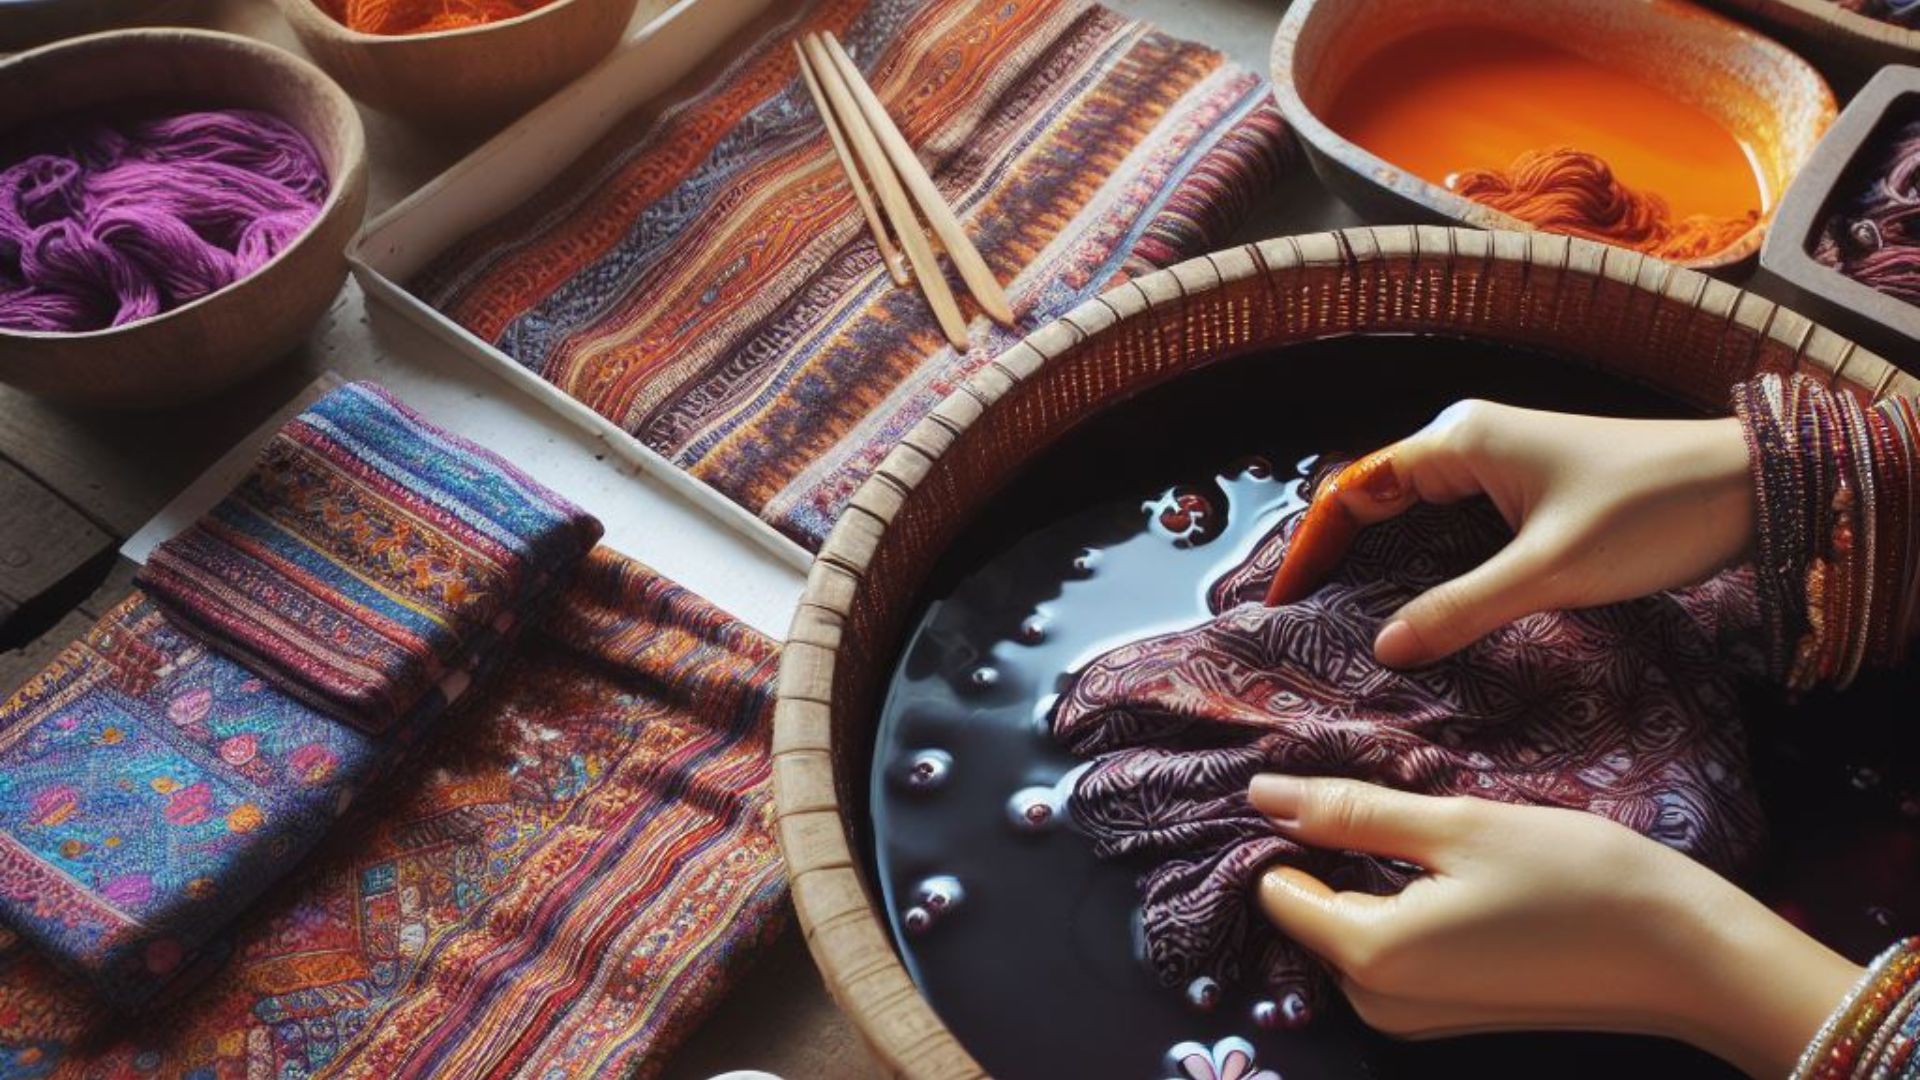
Before diving into the refrigerator debate, let’s quickly recap the tie-dye process. After applying your chosen dye colors to the fabric and allowing them to set for a specified duration (usually several hours), the next step involves rinsing out excess dye until the water runs clear. This step is crucial in preventing colors from bleeding into each other.
Refrigerator as a Setting Tool
Now, the big question: Can you use a refrigerator to set tie-dye? While some sources might suggest refrigerating tie-dye projects to help “set” the colors, the reality is a bit different.
No, Refrigerators Aren’t Ideal for Setting Tie-DyeRefrigerators might be excellent for preserving food, but they aren’t the best choice for setting tie-dye. The setting process primarily relies on the chemical reaction between the dye and the fabric. Temperature plays a role, but refrigerators typically don’t offer the consistent warmth required to effectively set tie-dye colors.
Ideal Setting Methods
Instead of the fridge, opt for more tried-and-true setting methods:
Heat Setting: Applying heat to your tie-dyed creation can help set the colors. You can use an iron or a dryer to heat-set the dye. Remember to cover the dyed fabric with a protective layer (like a cloth or parchment paper) before ironing.
Air Drying and Heat: Allowing the fabric to air dry first and then using a hot dryer to further set the colors can also be effective. Ensure the fabric is completely dry before exposing it to heat.
Vinegar Rinse: After rinsing the fabric post-dyeing, soaking it in a mixture of water and vinegar (one part vinegar to four parts water) can assist in setting the colors.
So,…
While the idea of using a refrigerator to set tie-dye might sound tempting, it’s not the most effective method. Instead, rely on heat, air drying, or a vinegar rinse to help your vibrant tie-dye creation retain its colors for the long haul.
Tie-dyeing is a fun and creative way to add a pop of color to your wardrobe or home décor. Experiment with different techniques and enjoy the vibrant, personalized results.
For more insights into tie-dye techniques and tips, check out these resources:
- Tie-Dye Techniques: A Step-by-Step Guide – Craftsy
- How to Set Tie-Dye Without a Kit – Apartment Therapy
- The Ultimate Guide to Tie-Dye – Good Housekeeping
Experiment, explore, and unleash your creativity with tie-dye.
Once you’ve mastered the basics of tie-dye and understand how to set the colors effectively, there’s a world of possibilities to explore within this vibrant art form.
Exploring Tie-Dye Techniques and Styles
Shibori: The Art of Japanese Tie-Dye
Shibori, a traditional Japanese tie-dye technique, involves intricate folding, twisting, and binding of fabric to create stunning patterns. Each fold and knot creates a unique design, making every Shibori piece a work of art. Try experimenting with different folding methods like Itajime (using wooden blocks) or Kumo (twisting and binding).
Ombre and Dip Dye
Ombre and dip dye techniques involve creating a gradient effect by submerging fabric gradually into dye baths of varying concentrations. This method allows for stunning color transitions, from dark to light or vice versa. It’s a versatile technique that can be applied to clothing, curtains, or even linens for a chic look.
Reverse Tie-Dye
In contrast to traditional tie-dye, reverse tie-dye involves bleaching dark-colored fabric to create unique patterns. By strategically applying bleach or a bleach solution to the fabric, you can achieve eye-catching designs on dark backgrounds. It’s a fun twist on the classic tie-dye process.
Ice Dyeing
Ice dyeing involves placing ice cubes over the fabric and sprinkling powdered dye on top. As the ice melts, it carries the dye through the fabric, creating mesmerizing and unpredictable patterns. It’s a technique that offers a lot of surprises and artistic freedom.
Tips for Tie-Dye Success
- Pre-Wash Fabric: Ensure your fabric is pre-washed and damp before applying dye. This helps the fabric absorb the colors more effectively.
- Experiment with Colors: Don’t be afraid to mix and match different dye colors to create unique combinations and hues.
- Patience is Key: Allow ample time for the dye to set and the fabric to dry properly before washing or wearing your creation.
Embrace Creativity
Tie-dye is all about embracing creativity and personal expression. Whether you’re revamping old clothes or adding a colorful touch to new ones, the possibilities are endless. It’s a fantastic way to spend time with friends and family, creating wearable art together.
So, gather your supplies, choose your favorite tie-dye technique, and let your imagination run wild! Create beautiful, one-of-a-kind pieces that reflect your style and personality.
For further inspiration and guidance on various tie-dye styles and techniques, explore these resources:
- Tie-Dye Folding Techniques – Dharma Trading Co.
- Creative Tie-Dye Ideas – The Spruce Crafts
- Tie-Dye Patterns and Techniques – Rit Dye
Comparison tabular
Here’s a tabular comparison highlighting various tie-dye techniques and their unique characteristics:
| Tie-Dye Technique | Description | Key Features |
|---|---|---|
| Traditional Tie-Dye | Involves tying, folding, or crumpling fabric and applying dye in different sections. | – Versatile patterns
– Varied color combinations – Classic spirals and bullseyes |
| Shibori | Japanese technique involving intricate folding, twisting, and binding of fabric to create unique patterns. | – Precise and intricate designs
– Wooden block or knot-based folds – Each piece is a one-of-a-kind artwork |
| Ombre & Dip Dye | Creates a gradient effect by dipping fabric gradually into dye baths of varying concentrations. | – Smooth color transitions
– Dark-to-light or light-to-dark gradients – Versatile on clothing and fabrics |
| Reverse Tie-Dye | Involves bleaching dark-colored fabric to create patterns and designs. | – Contrasting designs on dark backgrounds
– Use of bleach or bleach solutions – Unique, edgy patterns |
| Ice Dyeing | Places ice cubes over fabric and sprinkles powdered dye, creating unpredictable patterns. | – Melting ice carries dye through fabric
– Unpredictable, artistic designs – Surprising color blends |
Each tie-dye technique offers its own set of possibilities, allowing artists to experiment and create stunning, personalized designs. From the classic spirals of traditional tie-dye to the intricate folds of Shibori and the surprising effects of ice dyeing, there’s a technique suited for every creative vision.
Wrapping up
Tie-dyeing isn’t just about creating colorful garments; it’s an art form that celebrates individuality and creativity. From the classic swirls of traditional tie-dye to the precise folds of Shibori and the experimental nature of ice dyeing, each technique offers a canvas for your imagination.
So, whether you’re reviving old clothes, creating personalized gifts, or simply expressing your artistic side, dive into the world of tie-dye with confidence. Embrace the unpredictable, revel in the vibrant colors, and let your creativity flow.
Remember, tie-dyeing is more than just a craft; it’s a journey of self-expression, discovery, and joy. So, gather your supplies, explore different techniques, and embark on a colorful adventure!
Let your unique style and personality shine through vibrant bursts of tie-dye artistry. Happy tie-dyeing!

For over a decade, I’ve been Mike, an artist, crafter, and designer deeply immersed in the Croc world. I thrive on crafting unique, size-inclusive patterns, fostering creativity, and sharing them on ktforum.com. My designs aim to ignite your creative spark and delight you, ensuring clarity and ease of use through rigorous testing. Join me in expressing your creative flair and showcasing your craft with joy.
Related Posts
- To Set or Not to Set: Understanding the Tie-Dye Setting Process
Tie-dyeing is a fantastic way to infuse vibrant colors and creative designs into fabrics. Yet,…
- Accelerating the Tie-Dye Setting Process: Hairdryer or Fan?
Tie-dyeing is an art form that’s not just about colors; it’s about patience and precision.…
- Is There a Risk in Delaying Tie-Dye Setting After Application
Tie-dyeing is a vibrant and creative way to breathe life into fabrics, but timing is…
- Understanding the Impact of Sunlight on Setting Tie-Dye
Tie-dyeing is a vibrant and creative way to add a burst of color to fabrics.…