
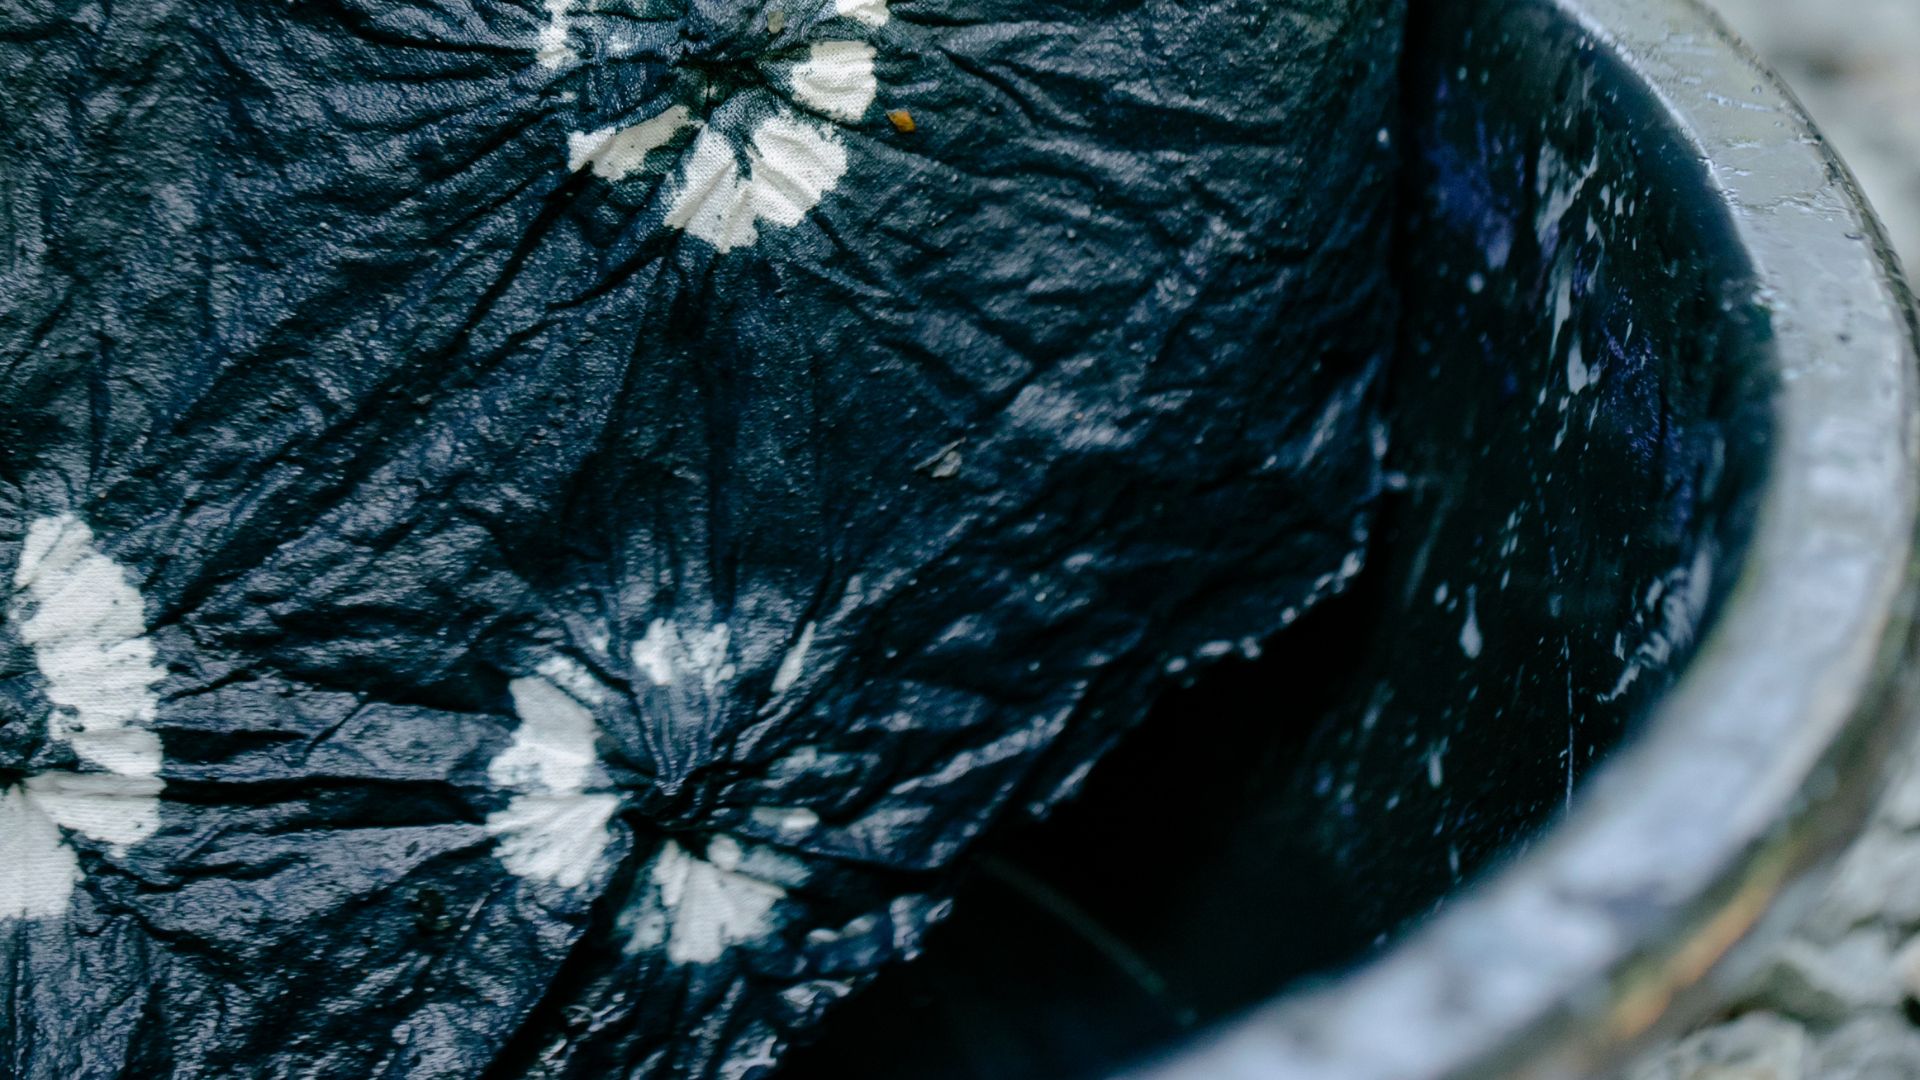
Letting tie-dye sit in a container is a crucial step in the dyeing process. Here’s the lowdown:
The Science Behind It
Tie-dyeing is an art form where dye is applied to fabric in unique patterns, creating vibrant, swirly designs. Once you’ve applied the dye to your fabric masterpiece, it needs time to set. This is where letting it sit in a container comes into play.
Letting the Dye Work its Magic
After you’ve finished applying the dye, the fabric needs time for the colors to permeate and bond with the fibers. By allowing the fabric to sit in a container, covered or sealed to prevent the dye from drying out, you create an ideal environment for this chemical reaction to take place.
The Waiting Game
The recommended duration for letting tie-dye sit can vary based on the dye brand and fabric type. Generally, it’s best to let it sit for at least 6 to 8 hours. Some dyes might require longer sitting times, so always check the instructions provided with your dye kit.
Patience is Key
During this waiting period, the dye works its magic, creating those vivid, eye-catching patterns. It’s like a colorful chemistry experiment unfolding right before your eyes.
The Takeaway
So, should you let tie-dye sit in a container? Absolutely! It’s a crucial step that allows the dye to bond with the fabric, resulting in those vibrant, long-lasting colors that make tie-dye so iconic.
Remember, patience is your ally here. Letting your tie-dye creation sit in a container might require a bit of waiting, but the vibrant and unique results will make it totally worth it.
For more tips and techniques on tie-dyeing, check out these helpful resources:
- Tie-Dye Techniques: 16 How-To Videos – Explore different tie-dye methods and create stunning patterns.
- Dharma Trading Co. – A one-stop-shop for tie-dye supplies, offering a wide range of dyes, fabrics, and helpful tutorials.
- Martha Stewart: How to Tie-Dye – Dive into Martha Stewart’s guide for step-by-step tie-dye instructions.
Embrace the waiting game and watch your tie-dye creation transform into a vibrant work of art.
Continuing with tie-dye adventures is always fun! Now that you’ve let your tie-dye creation sit in a container for the recommended duration, what’s next?
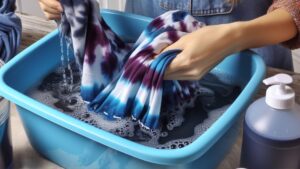
Rinse and Reveal
Time to Unveil
Once your tie-dye has had ample time to set in the container, it’s time for the big reveal. Carefully remove the fabric from the container, ensuring not to smudge or blend the colors. You’ll notice the dye has partially set, but the magic really happens during the rinsing process.
Rinse Away
Head over to your sink and rinse the tie-dyed fabric under cold water. Keep rinsing until the water runs clear, removing any excess dye. This step is crucial to prevent colors from bleeding into each other and to set the dye further into the fabric.
The Unveiling
As the excess dye washes away, the vibrant patterns you created will start to emerge more vividly. It’s like watching your artwork come to life!
Final Touches
Once thoroughly rinsed, wash the tie-dyed fabric separately in cold water using a mild detergent. This additional wash helps remove any remaining dye and sets the colors further. After washing, air-dry your masterpiece, and voila! You’ve got yourself a stunning tie-dye creation.
The Last Splash
Seal the Deal
To ensure your tie-dye creation stays vibrant, consider sealing the colors by using a fabric fixative or setting solution. These products help lock in the colors, making them more resistant to fading during future washes.
Share Your Creations
Whether it’s a groovy T-shirt, a funky pair of socks, or a vibrant tapestry, show off your tie-dye masterpiece! Share it on social media, gift it to a friend, or rock it yourself. After all, tie-dye is all about spreading colorful vibes!
Wrapping Up
So, by letting tie-dye sit in a container and following through with the rinsing and washing process, you’ve unlocked the vibrant potential of your creation. Embrace the colors, enjoy the unique patterns, and don’t forget to share your tie-dye journey with the world!
For more inspiration and tie-dye know-how, explore these resources:
- Tie-Dye Folding Techniques – Learn various folding techniques to create different tie-dye patterns.
- Pinterest: Tie-Dye Ideas – A treasure trove of tie-dye inspiration and DIY projects.
- WikiHow: How to Tie-Dye – Detailed step-by-step instructions on tie-dyeing for beginners and experts alike.
Now, go ahead, unleash your inner artist, and let those tie-dye adventures continue.
Comparison tabular
Here’s a simple tabular breakdown:
| Steps | Letting Tie-Dye Sit in a Container | Rinsing and Washing |
|---|---|---|
| Description | Allows the dye to bond with the fabric fibers, creating vibrant and long-lasting colors. | Removes excess dye, sets the colors, and unveils the vibrant tie-dye patterns. |
| Process | After applying the dye, place the fabric in a container, cover or seal it, and let it sit for 6-8 hours (or as per dye instructions). | Remove fabric from the container, rinse under cold water until the water runs clear, wash separately with mild detergent, and air-dry. |
| Purpose | Facilitates the chemical reaction between dye and fabric, enhancing color saturation and longevity. | Eliminates excess dye, prevents color bleeding, and sets the colors in the fabric. |
| Outcome | Allows vibrant tie-dye patterns to develop as the dye bonds with the fabric fibers. | Reveals vivid and unique tie-dye patterns, ready for use or display. |
| Additional Tips | Keep the fabric moist in the container to aid in the dyeing process. | Consider using a fabric fixative or setting solution to lock in colors. |
| Next Steps | Remove the fabric from the container and proceed to the rinsing and washing stage. | Rinse the fabric under cold water until clear, wash separately with mild detergent, and air-dry to set the colors. |
| Key Point | Patience is crucial; allowing the dye to set ensures vibrant, long-lasting colors. | Thorough rinsing and washing prevent color bleeding and reveal the true tie-dye colors. |
| Outcome Enhancement | Longer sitting times might intensify colors or create more intricate patterns. | Consider using fabric fixatives to further lock in colors for longevity. |
| Examples/Tools | Container (bucket, plastic wrap, or sealable bag) to encase the fabric and retain moisture. | Cold water, mild detergent, and fabric fixatives for rinsing, washing, and color sealing. |
| Further Exploration | Experiment with different dye colors, folding techniques, or fabric types for varied results. | Share tie-dye creations on social media, gift them, or incorporate them into clothing or décor. |
| Resources | Tie-Dye Techniques: 16 How-To Videos | Dharma Trading Co. |
This table breaks down the key steps in tie-dyeing, highlighting the significance of letting tie-dye sit in a container and the subsequent rinsing and washing process.
Wrapping up
As you embark on your tie-dye journey, remember that patience truly is a colorful virtue! Allowing tie-dye to sit in a container sets the stage for vibrant creations, while the rinsing and washing process unveils the stunning patterns you’ve crafted.
Embrace experimentation and explore various dye colors, folding techniques, and fabric types to create your unique masterpiece. Share your colorful creations, whether it’s on social media, as gifts to friends, or as part of your everyday style.
With a splash of creativity and a sprinkle of patience, your tie-dye adventures are bound to yield vibrant, eye-catching results. So, dive in, let the dye do its magic, and revel in the kaleidoscope of colors you bring to life!
Happy tie-dyeing!

For over a decade, I’ve been Mike, an artist, crafter, and designer deeply immersed in the Croc world. I thrive on crafting unique, size-inclusive patterns, fostering creativity, and sharing them on ktforum.com. My designs aim to ignite your creative spark and delight you, ensuring clarity and ease of use through rigorous testing. Join me in expressing your creative flair and showcasing your craft with joy.
Related Posts
- Achieving a Faded Look with Tie-Dye: How Long Should You Let It Sit
Tie-dyeing is a fantastic way to infuse vibrant colors into your clothing or fabrics, but…
- Understanding Tie-Dye Settling and Mixing with Other Dye Projects
Tie-dyeing is a vibrant and creative way to infuse life into fabrics, but ensuring colors…
- Is there a minimum duration for letting tie-dye sit
Absolutely. The tie-dye process is a blend of creativity and chemistry. The duration you let…
- Maximizing Tie-Dye Color Saturation: How Long Should You Let It Sit?
Tie-dyeing is an art form that thrives on creativity and experimentation. The vibrant bursts of…